I make walking tacos in a bag on nights when I've already used my water allowance on dishes and coffee and don't want to touch the sink again. One cast iron skillet on the propane stove, no oven, no plates, and the trash bag from the meal is the bowl. This is dry-camping-practical food dressed up as a county fair snack, and after six years of counting every gallon and every dollar, I've stopped being embarrassed about how much I like it.
Setting Up the Counter
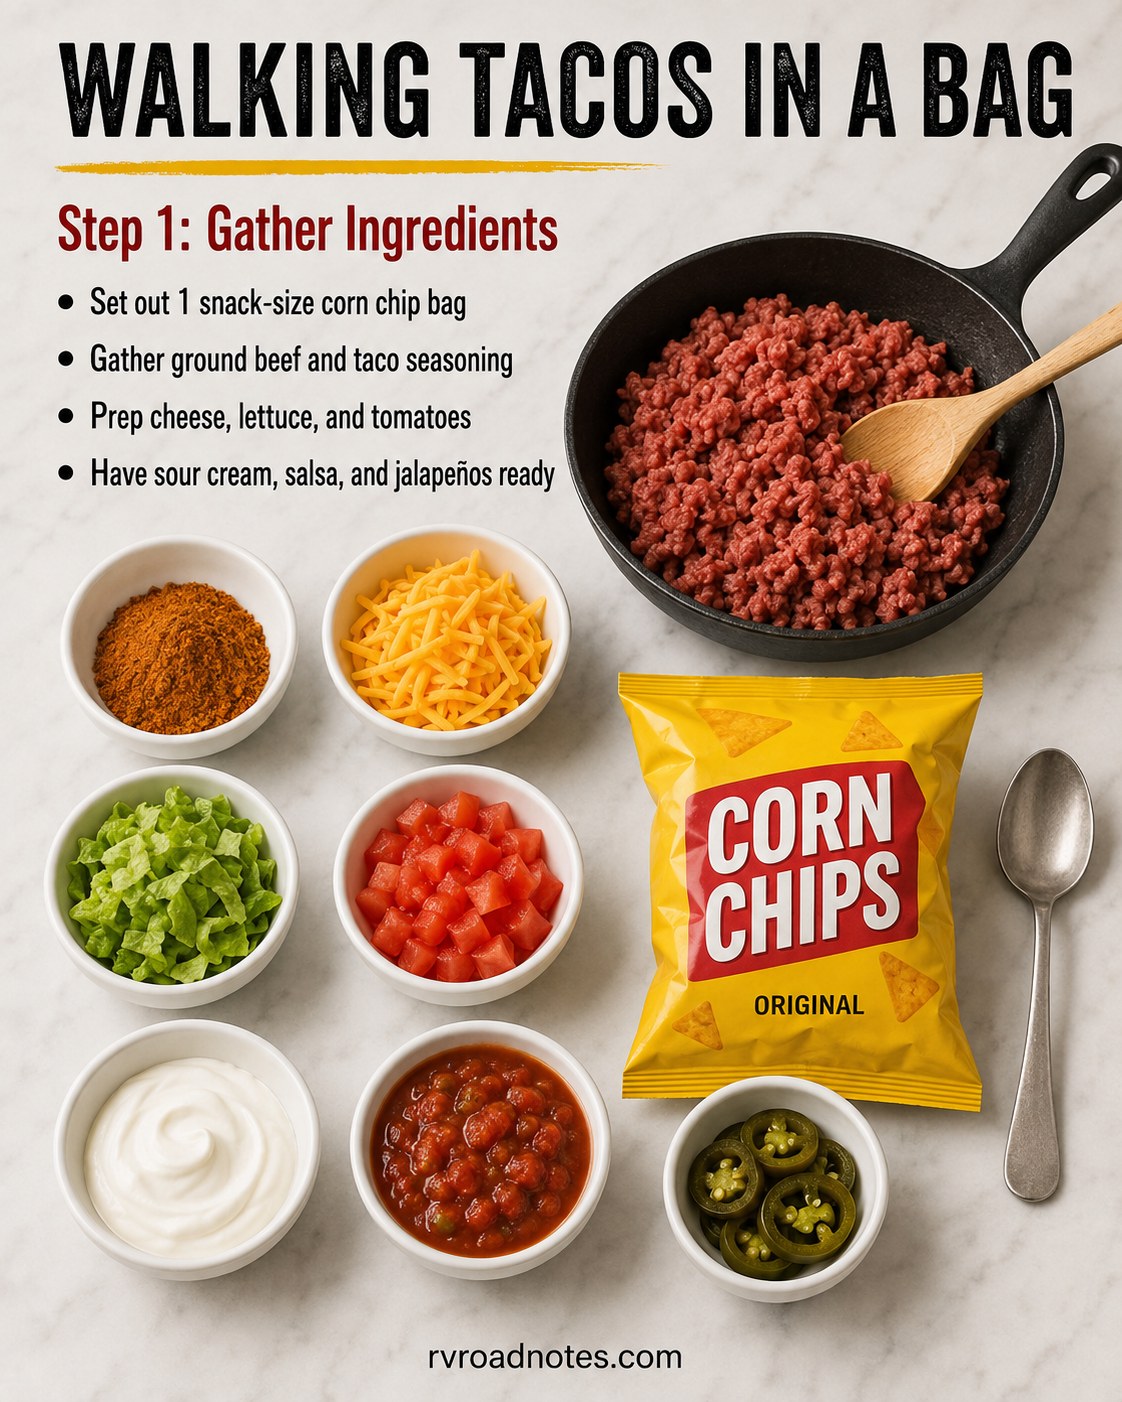
My counter in the 1998 Class C is maybe two feet of usable space once the coffee maker's out of the way, so I stage everything in small bowls before I light the stove — that's not a plating choice, it's a small-kitchen survival tactic. Everything gets prepped once, dirtied once.
- One snack-size bag of original corn chips per person, set upright
- Ground beef and a packet of taco seasoning, ready by the stove
- Cheese, lettuce, tomatoes chopped or shredded ahead of time
- Sour cream, salsa, jalapeños staged last since they don't need heat
If I'm boondocking and the fridge has been cycling on propane with the door opening more than it should, I do a quick sniff-and-look check on the dairy before I even start the skillet — a fridge running warm for a few hours is common on the road, and it's not worth a bad night over a taco.
Browning the Beef
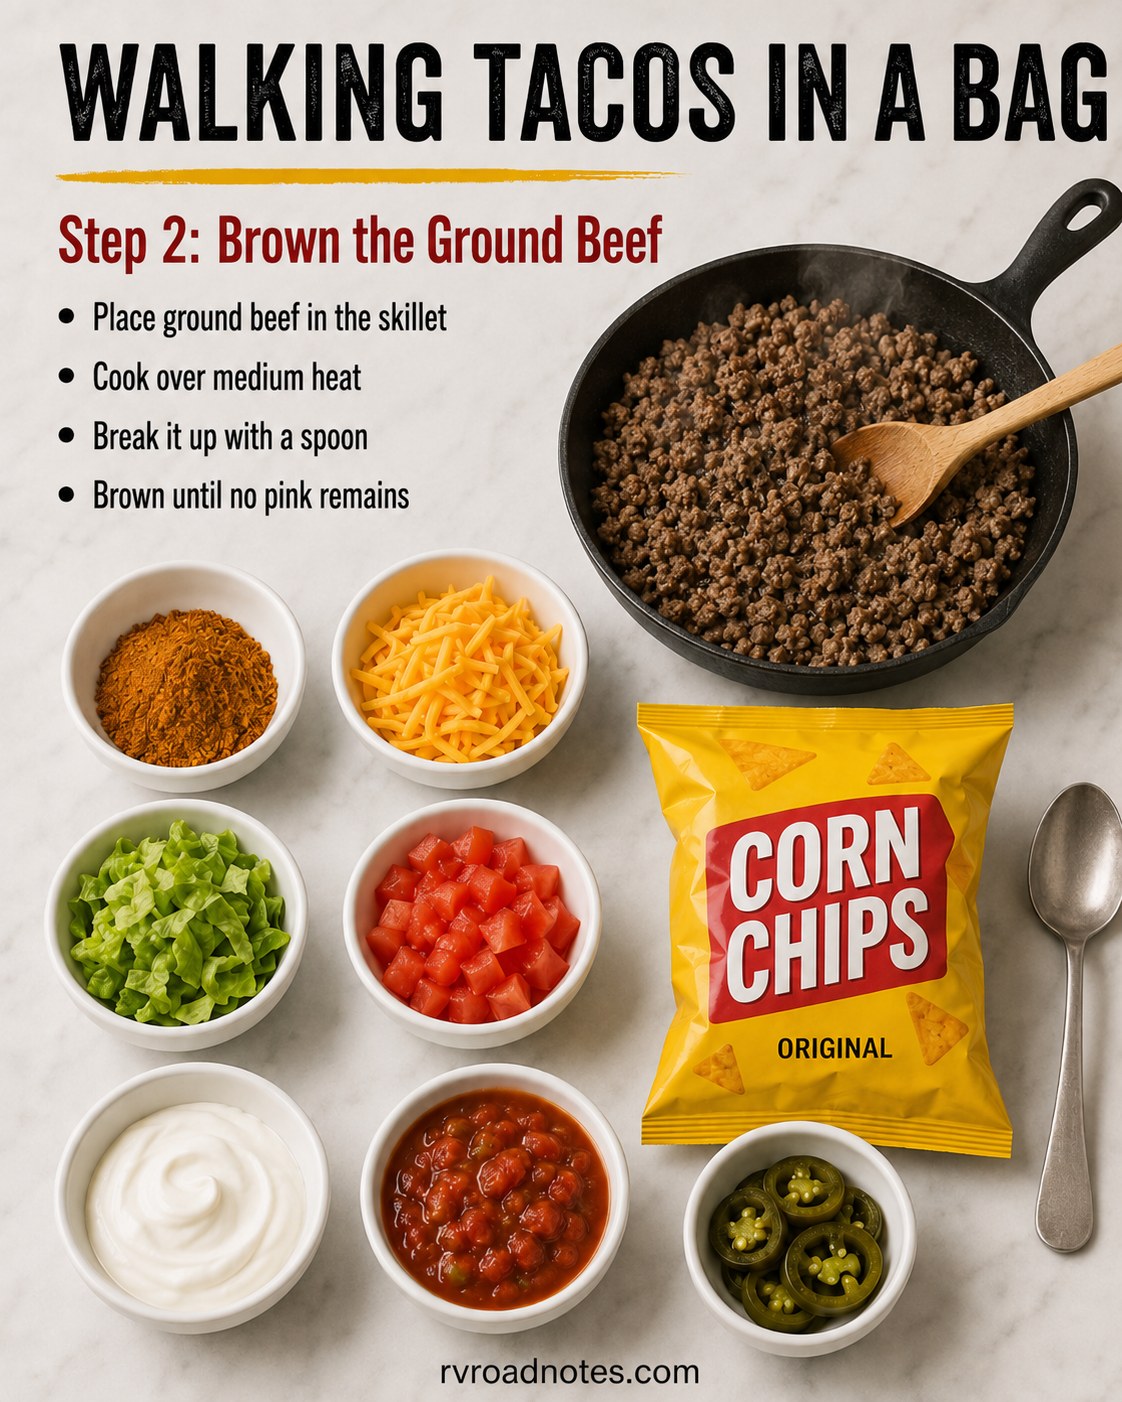
The cast iron skillet goes on medium heat, and the beef goes in whole before I break it up — that first minute of undisturbed contact is where you actually get browning instead of grey steam. I use the wooden spoon to chop it into smaller crumbles as it cooks, about 8 to 10 minutes total.
You're done when there's no pink remaining anywhere, including the middle of the biggest chunks — I press one open with the spoon to check, since eyeballing a skillet through a propane flame that's never quite even is asking for trouble. Ground beef needs to hit 160°F internally, and on a rig stove where the burner runs a little hot on one side, that means actually checking rather than trusting the clock.
The beef is the only ingredient in this whole dish that can hurt you if you rush it. Everything after this step is assembly.
Seasoning the Beef
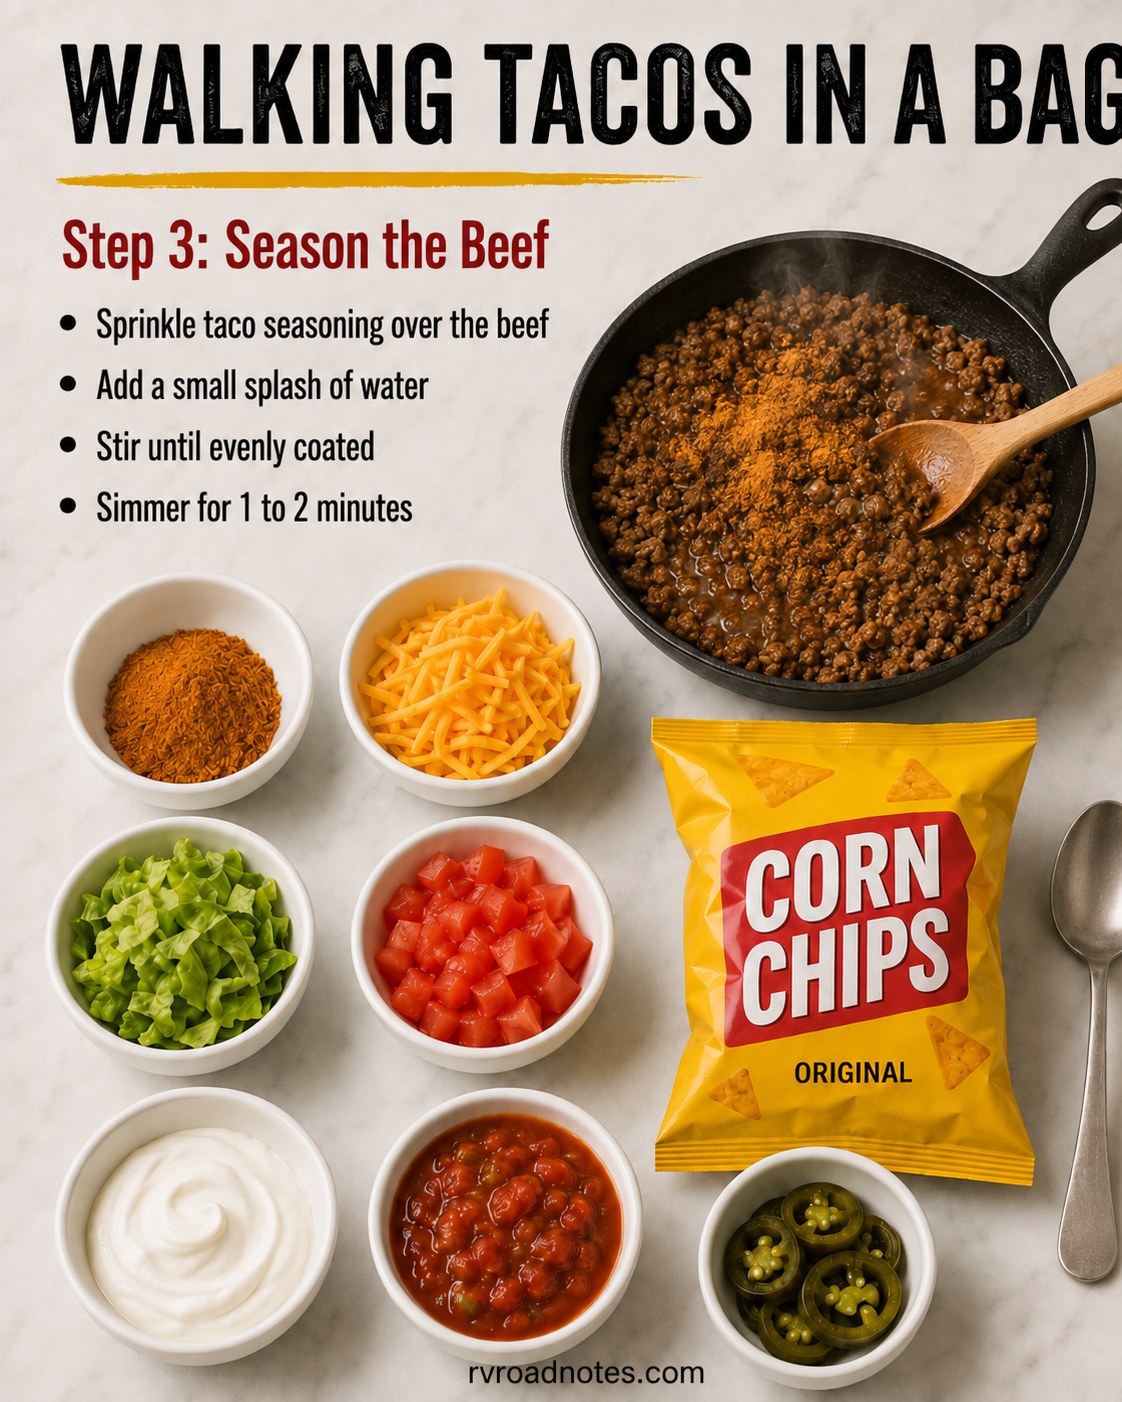
Once the meat's fully browned, I sprinkle the taco seasoning straight over it in the skillet along with a small splash of water — a couple tablespoons is enough to help the seasoning coat evenly without turning the pan into soup. I stir it through and let it simmer for 1 to 2 minutes, just long enough for the color to go from dusty orange to that deep reddish-brown you can see clumping around the spoon in the pan.
This is also the stage where I think about water math, because it's a habit I can't turn off after four hundred nights off-grid: a splash for seasoning is nothing compared to what a full rinse-and-scrub of a greasy skillet would cost me later. One pan, minimal water, is basically the whole point of this dinner.
Opening the Chip Bag
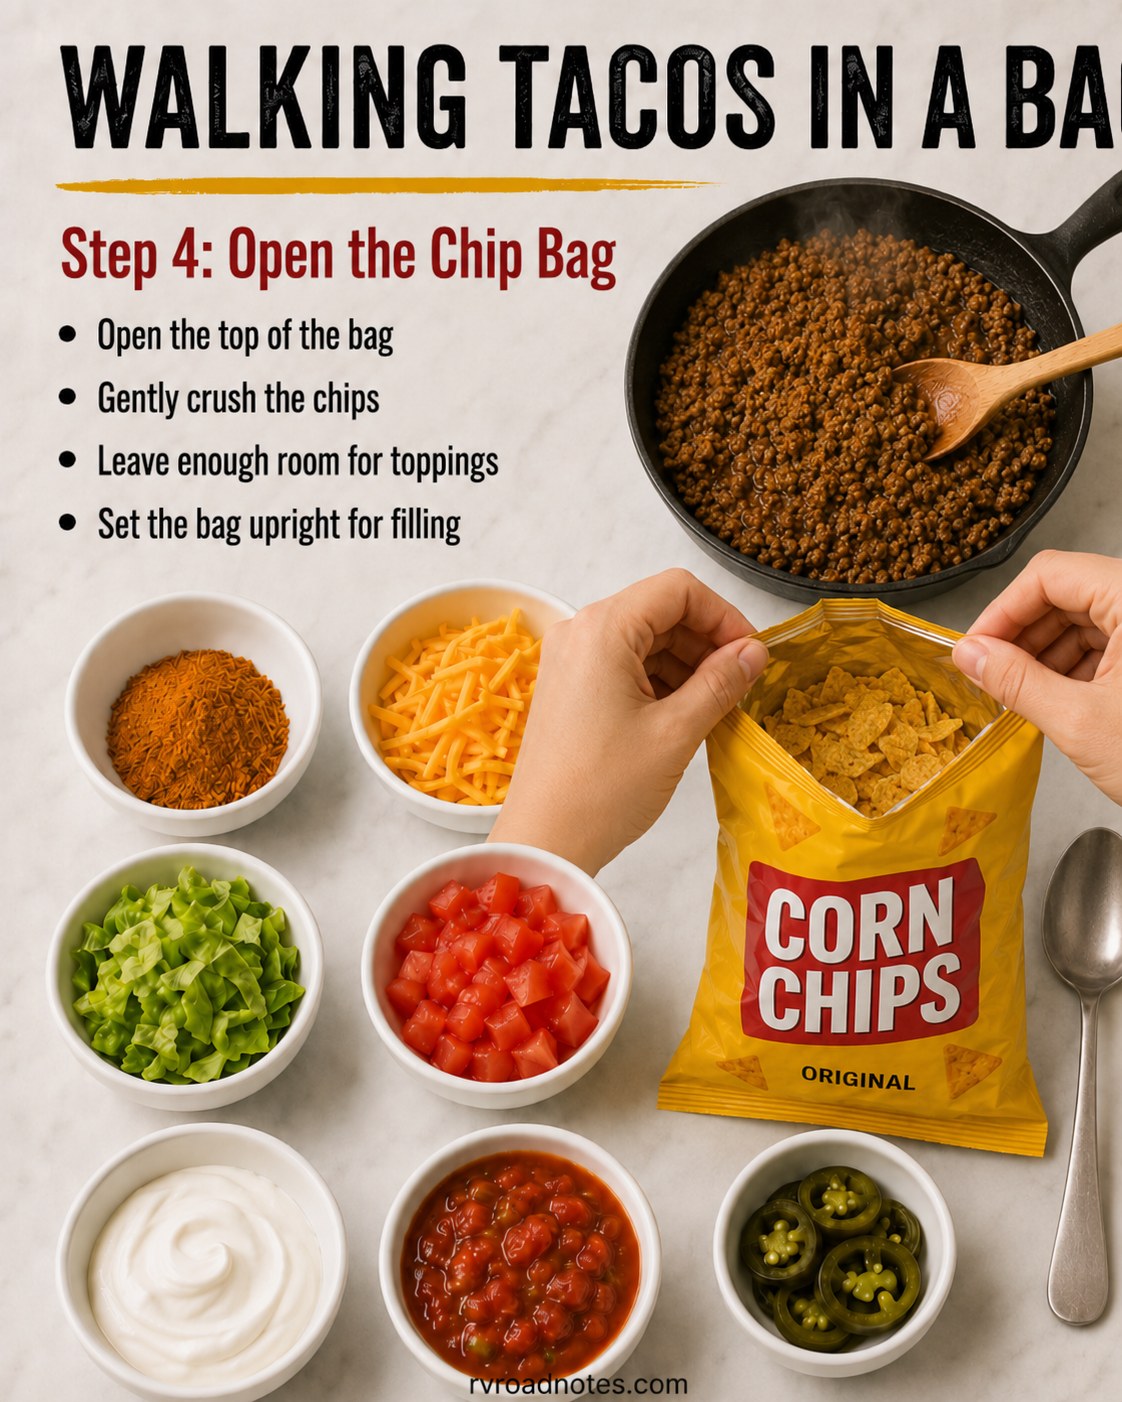
Here's the part that trips people up the first time: you open the top of the snack bag and gently crush the chips inside before adding anything. Not to powder — just enough to break the biggest pieces down and, more importantly, to make room. A full unbroken bag of corn chips has nowhere for the beef to go, and you end up with taco toppings sliding off the top instead of mixing through.
- Crush lightly, a few presses with your palm through the bag
- Leave headroom — you need space for five more layers
- Set it upright on the counter, not tipped, before filling
These snack-size bags double as your only dish for the meal, which is exactly why they're the smart choice for a rig with a fridge the size of a cooler and a sink you're rationing water into.
Adding the Taco Beef
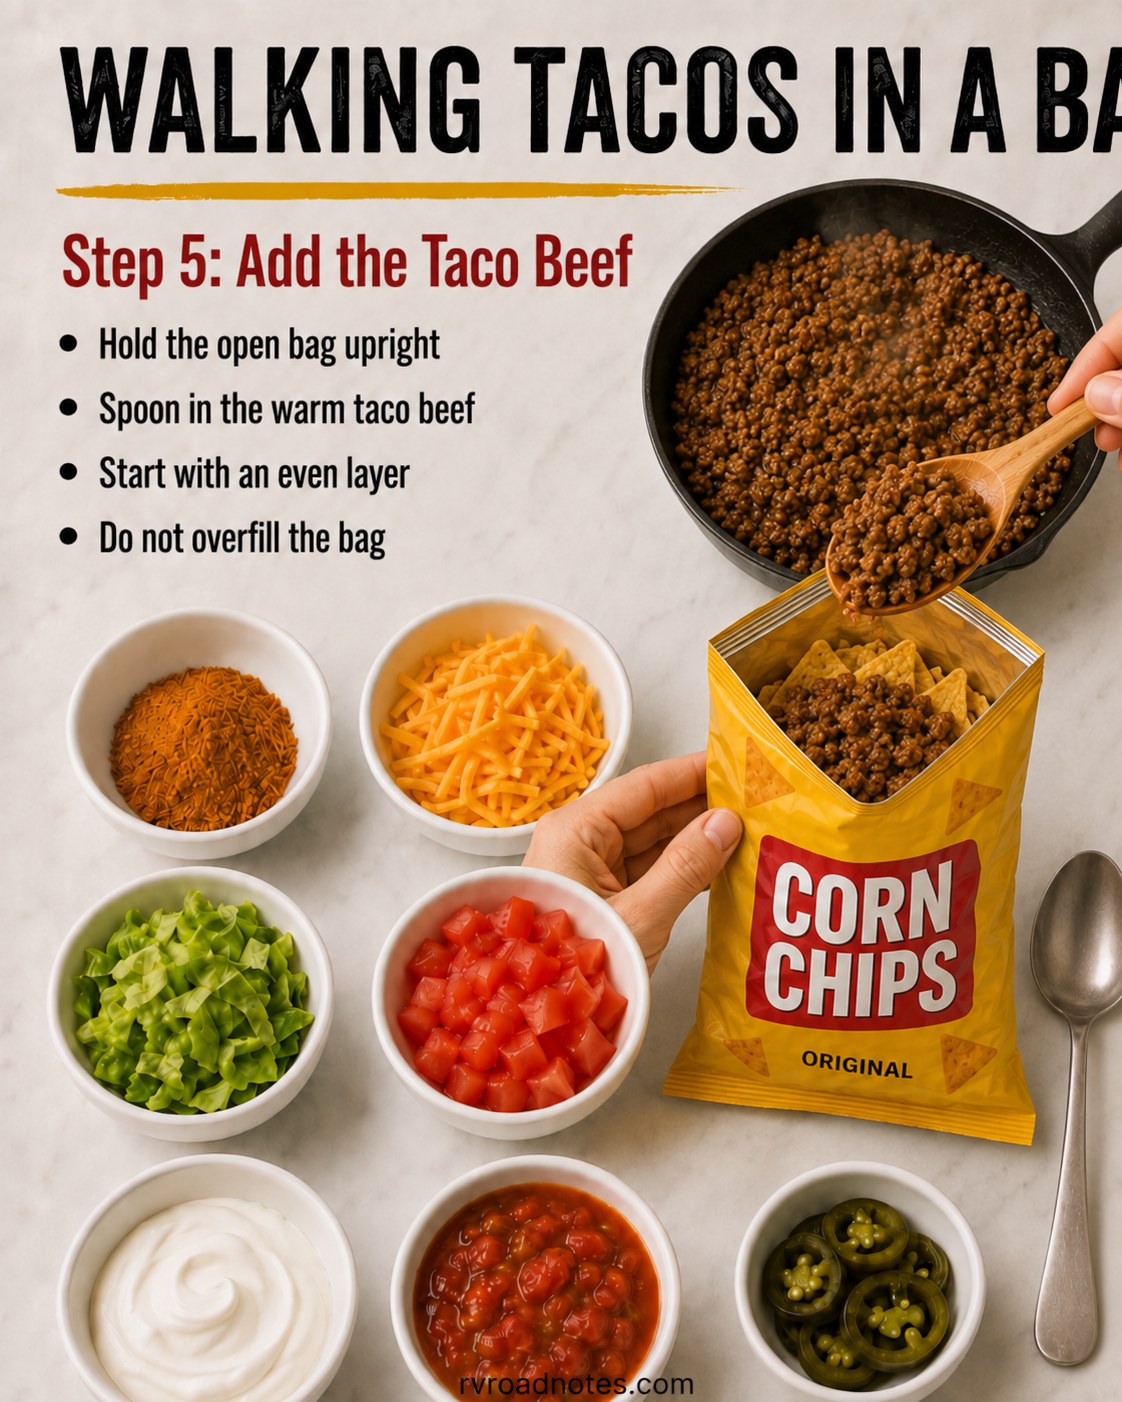
Hold the bag open and upright with one hand and spoon the warm beef in with the other — I go for an even layer rather than dumping it all in one corner, since the chips underneath need contact with the meat to soften properly instead of sitting there dry at the bottom. This is also where overfilling becomes a real problem: pack it too full now and there's no room left for cheese, lettuce, tomato and the toppings, and you end up eating half of it standing over the skillet instead of out of the bag.
I fill maybe two-thirds of the way with beef, leaving the rest of the bag for everything still coming. It's a small discipline, but it's the difference between a walking taco and a bag you have to eat with your hands over the sink.
Adding the Cheese
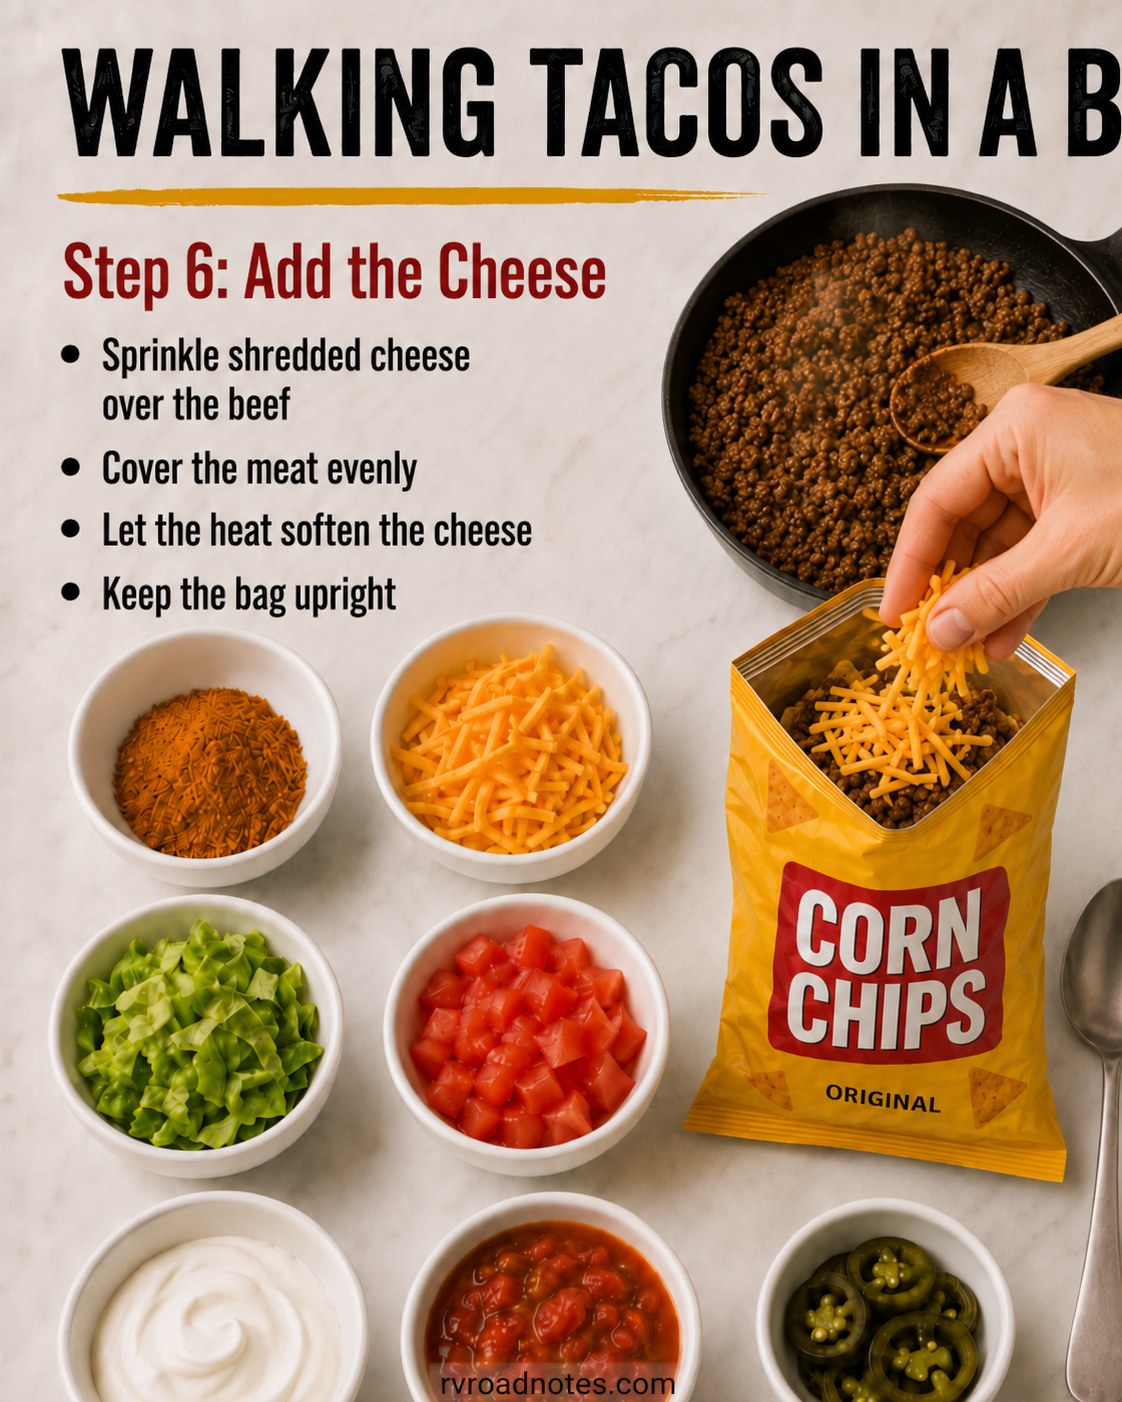
Shredded cheese goes on next, straight over the warm beef so the residual heat softens it without needing another pass near the stove — a small win when you're trying to keep the propane flame off as much as possible between steps. I cover the meat evenly rather than piling it in the center, since a melted-cheese cap on one side and a dry patch on the other is a wasted layer.
Keep the bag upright while you do this — it sounds obvious until you're balancing a taco bag on an uneven RV counter that's never quite level no matter how many times you've shimmed the rig. A folded dish towel under the bag has saved me more than one topping avalanche.
Adding Lettuce and Tomatoes
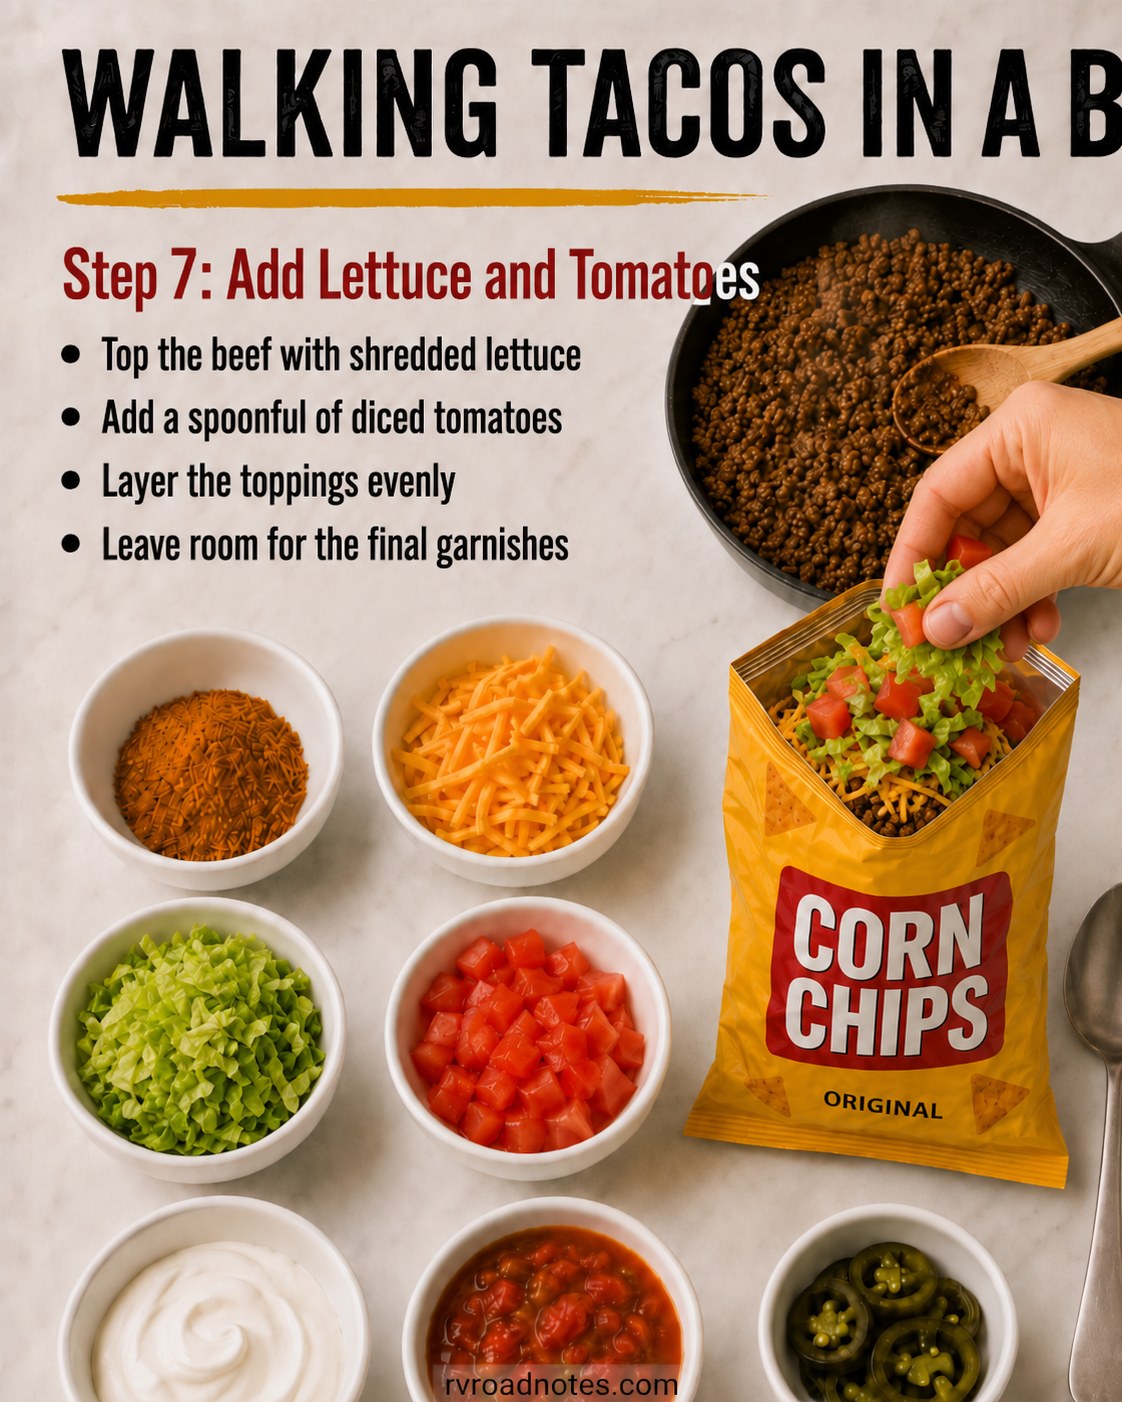
Shredded lettuce goes on next, followed by a spoonful of diced tomatoes, layered rather than dumped so each bite gets a bit of everything instead of a lettuce clump on top and none underneath. Fresh produce is the one thing I actually plan grocery runs around when I'm out for a stretch — lettuce and tomatoes don't hold in a small fridge nearly as long as the shelf-stable stuff, so this is usually a meal I make within the first couple of days after a supply stop, not week two.
- Shredded lettuce first, spread evenly across the cheese
- Diced tomatoes next, a spoonful is plenty
- Leave room at the top — the last layer still needs space
Finishing and Serving
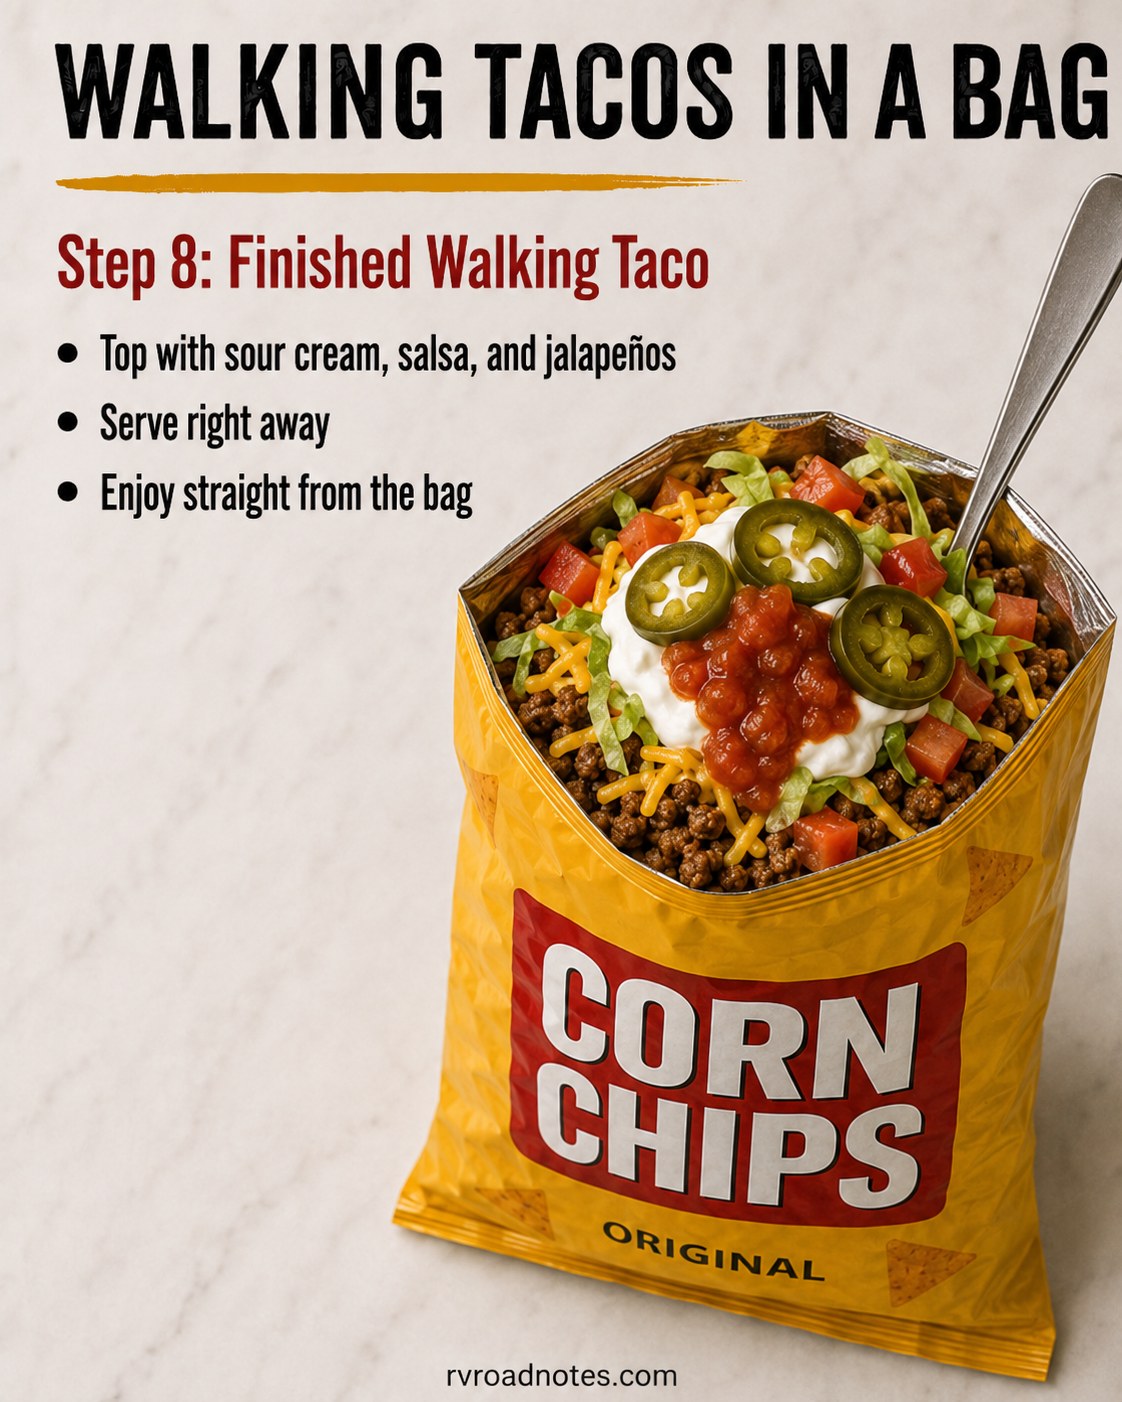
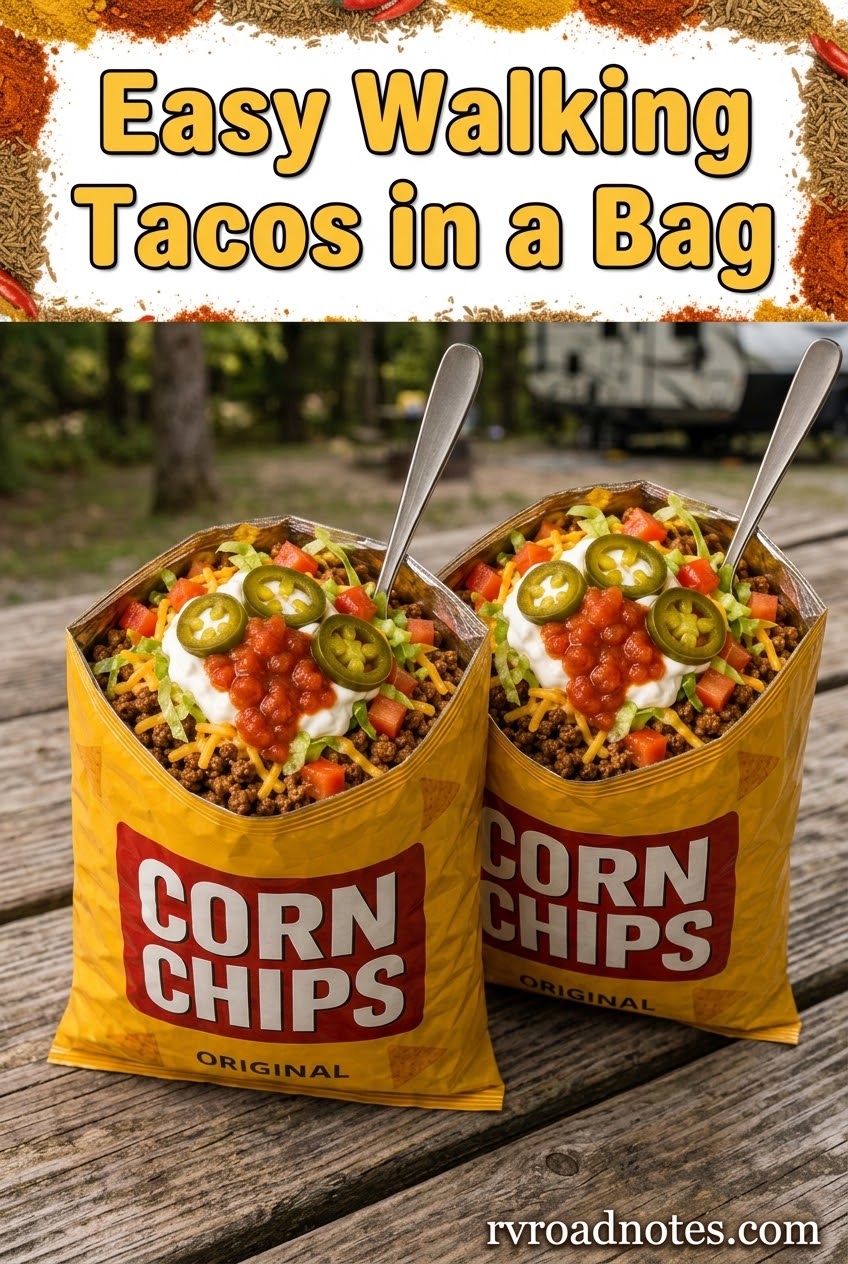
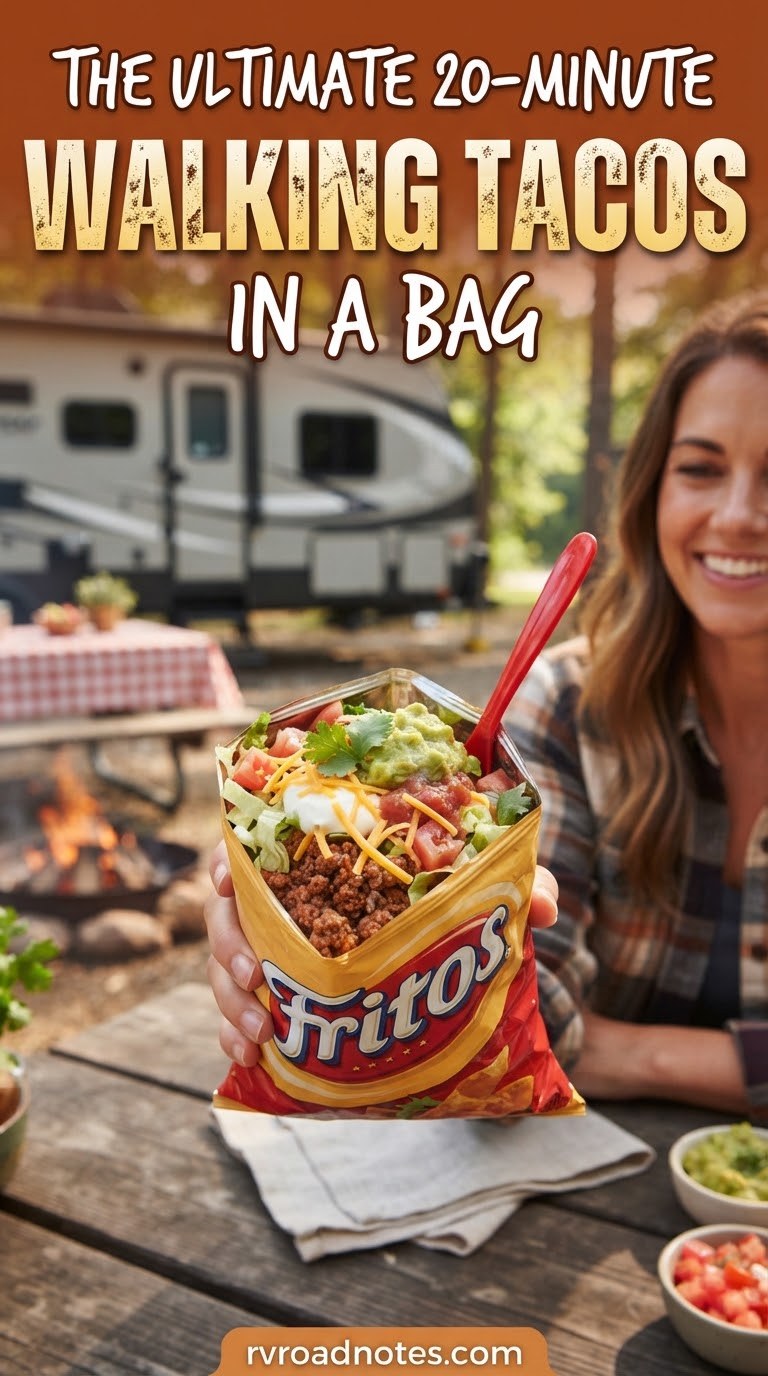
Last layer: a dollop of sour cream, a spoonful of salsa, and a few sliced jalapeños on top, then straight to the table — or the folding chair outside, more often. Walking tacos don't hold well once assembled, so I serve them right away, while the beef is still warm enough to soften the chips underneath without going soggy from sitting.
Eat it straight from the bag with a spoon, which is the entire appeal of this dish on the road: no plate, no bowl, no extra thing to wash with water I'd rather save for tomorrow's coffee. Rooster sits directly in my sightline the whole time this is happening, which tells you exactly how well the smell travels through a 24-foot rig.
This is a fifteen-minute dinner that leaves me with exactly one skillet to clean, which on a day when the water tank is already getting low is worth more to me than it probably should be. Crush the chips, don't overfill the bag, and eat it before it sits.

- For the beef
- For the bags
- For the toppings

Common Questions
Can I make walking tacos without much fridge space?
Yes, that's actually the appeal. You only need cold storage for the toppings — cheese, sour cream, lettuce and tomatoes — and those keep for a few days in a small RV fridge if it's holding a steady temperature. The beef itself doesn't need refrigeration once it's cooked and served immediately.
Is it safe to hold the cooked beef warm before assembling several bags?
For a short window, yes — I keep the skillet on low while I assemble bags one at a time, usually under 20 minutes total. I wouldn't leave cooked ground beef sitting warm much longer than that, especially if the rig's interior is already running hot.
What if I don't have taco seasoning packets?
A homemade blend of chili powder, cumin, garlic powder and a pinch of salt works fine — I keep a jar of my own mix in the cabinet since packets take up space I don't always have. Add it the same way, with a small splash of water, and simmer a minute or two.