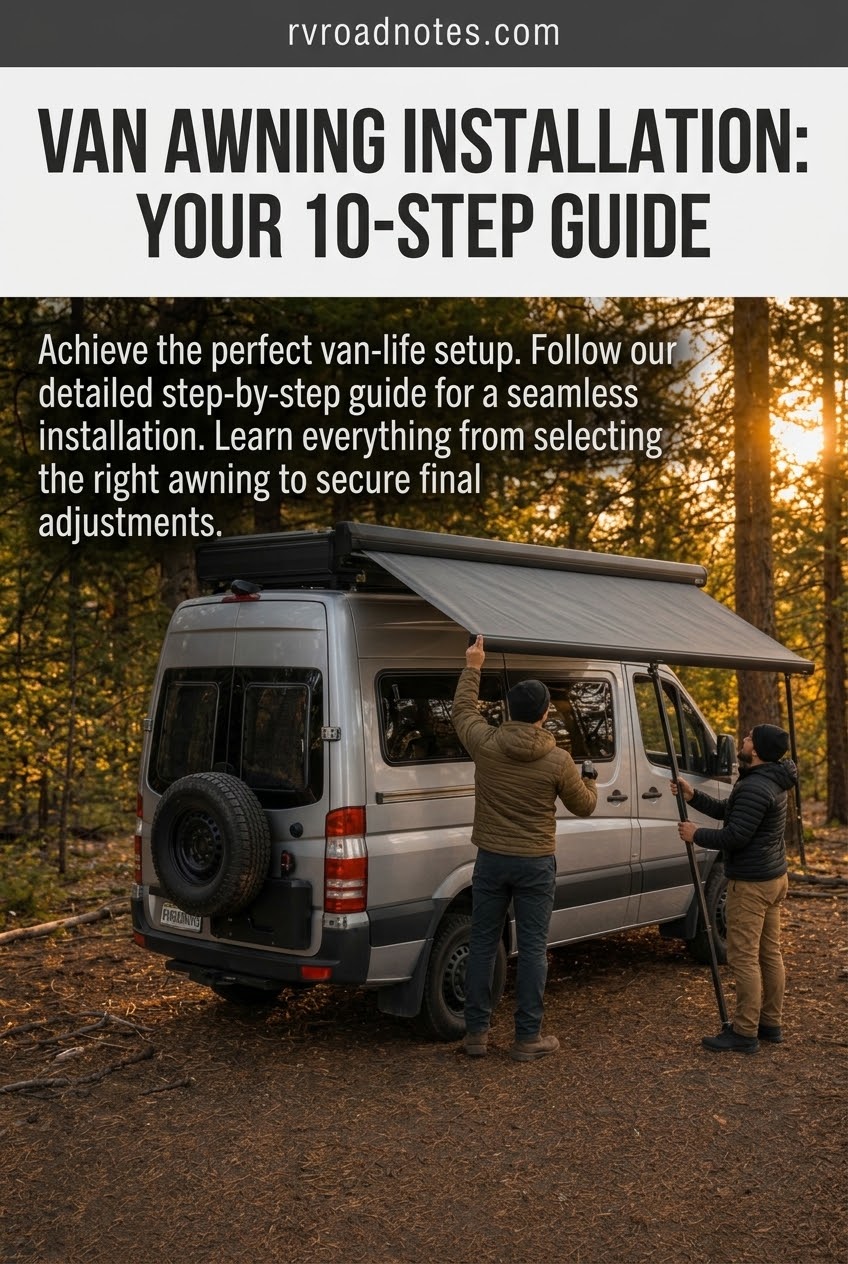
My own rig is a 1998 Class C with zero exterior shade, so when a friend asked for help mounting a side awning on her 4x4 Sprinter conversion, I said yes mostly out of envy. This isn't a job you do solo well, and it isn't a job you rush — a 40-plus pound cassette bolted overhead on a vehicle that's about to get driven down washboard BLM roads deserves the same attention I'd give a brake job. Here's exactly how it went, tools laid out on the dirt and all.
Laying Out the Kit Before Touching the Van
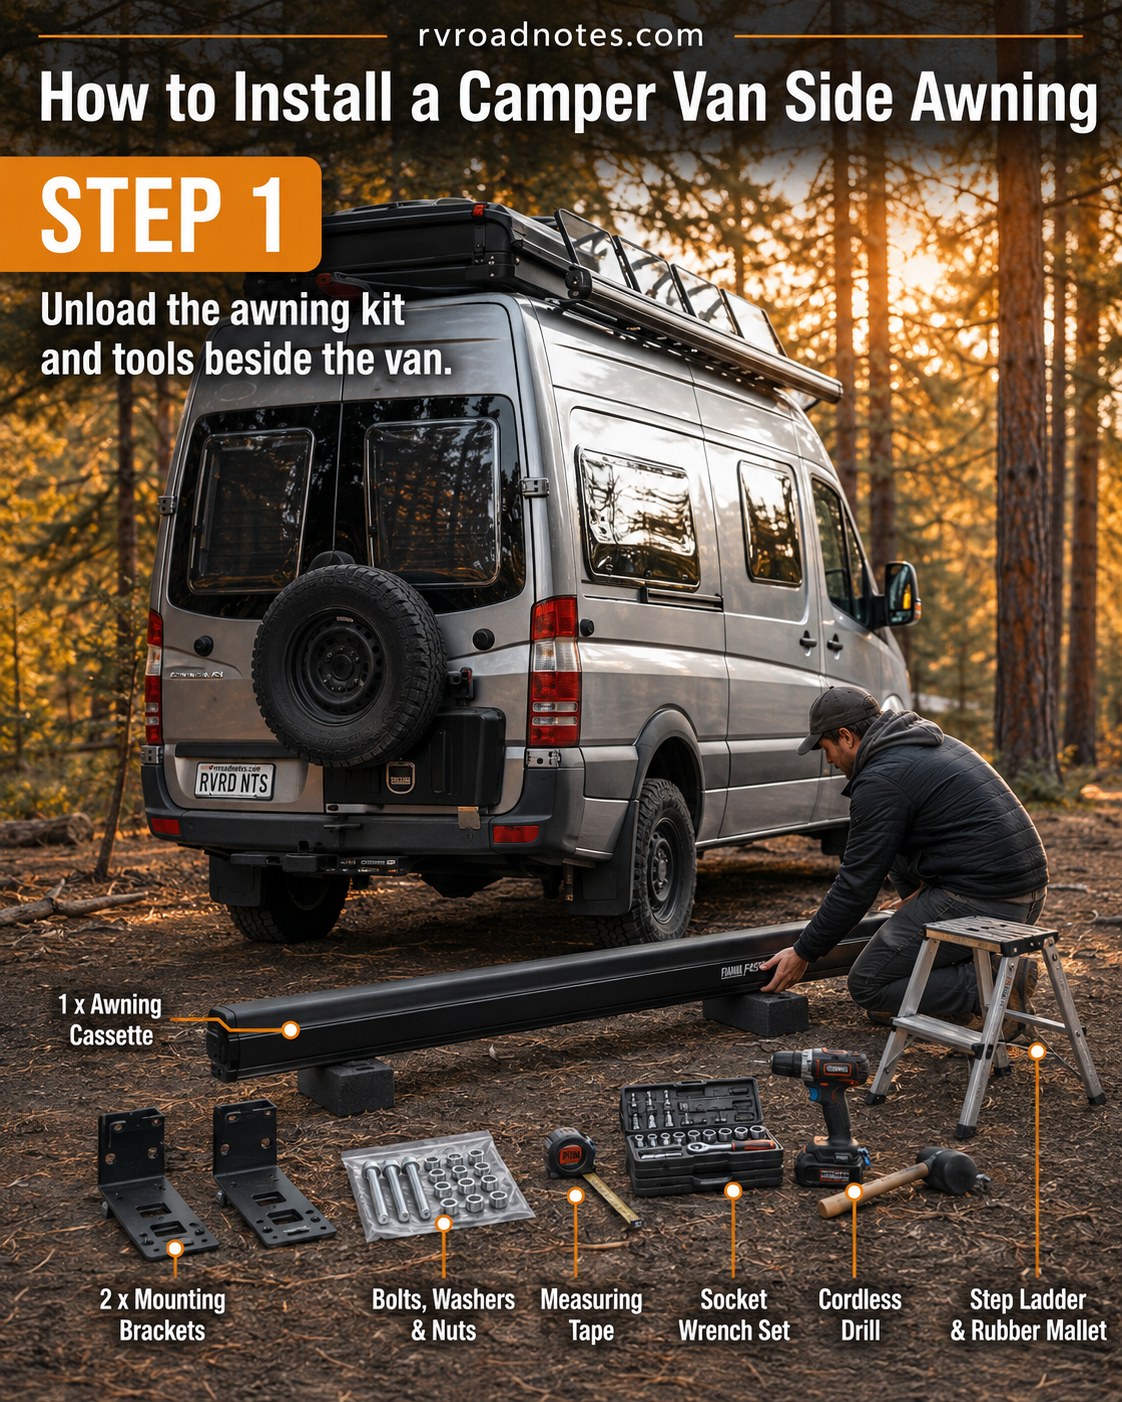
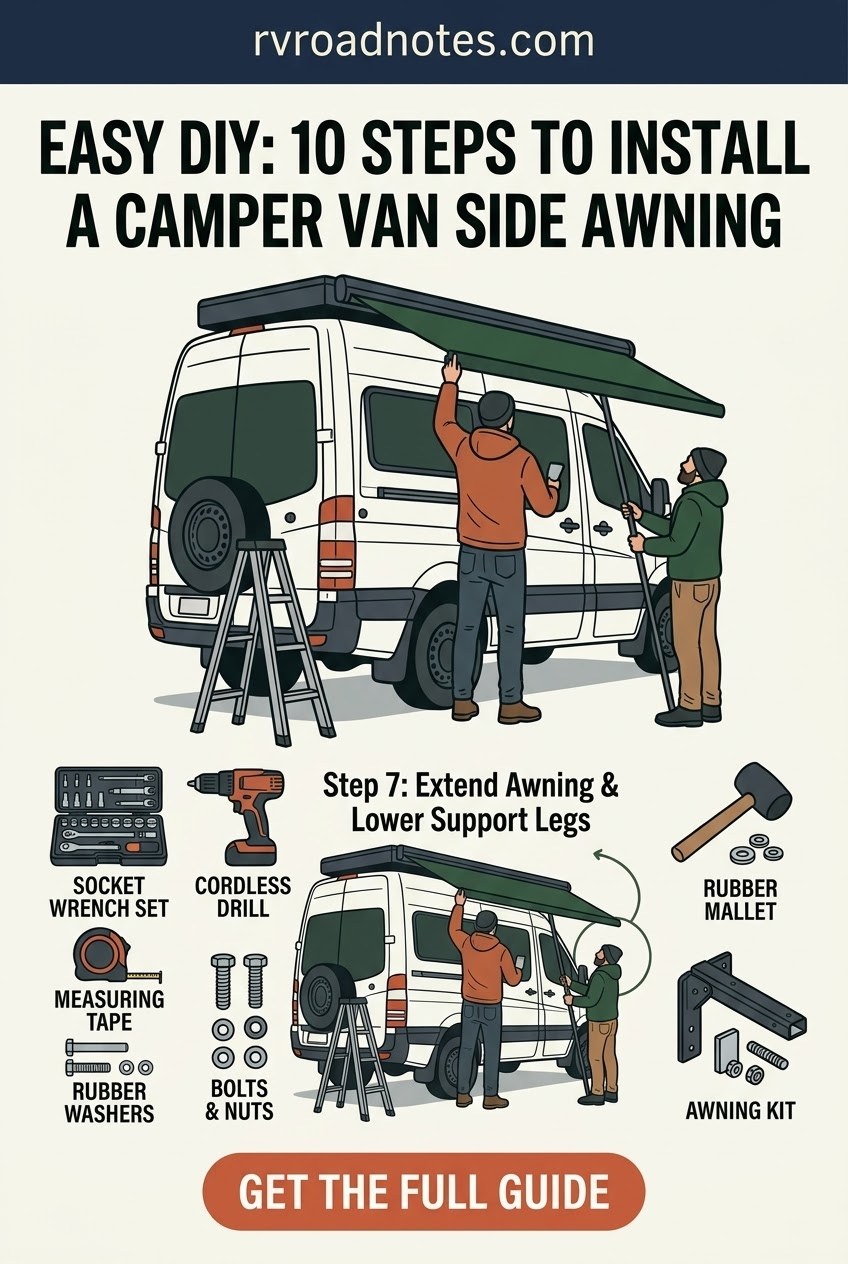
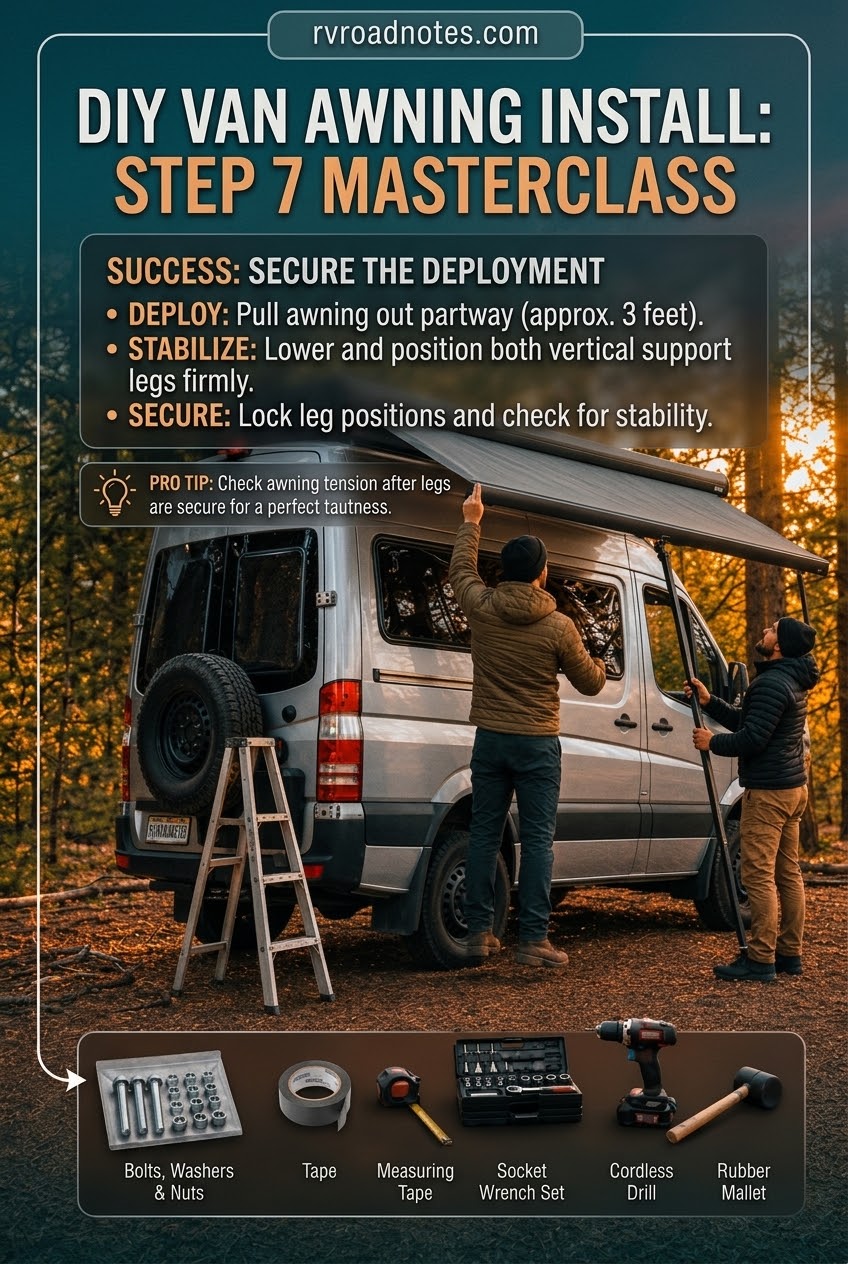
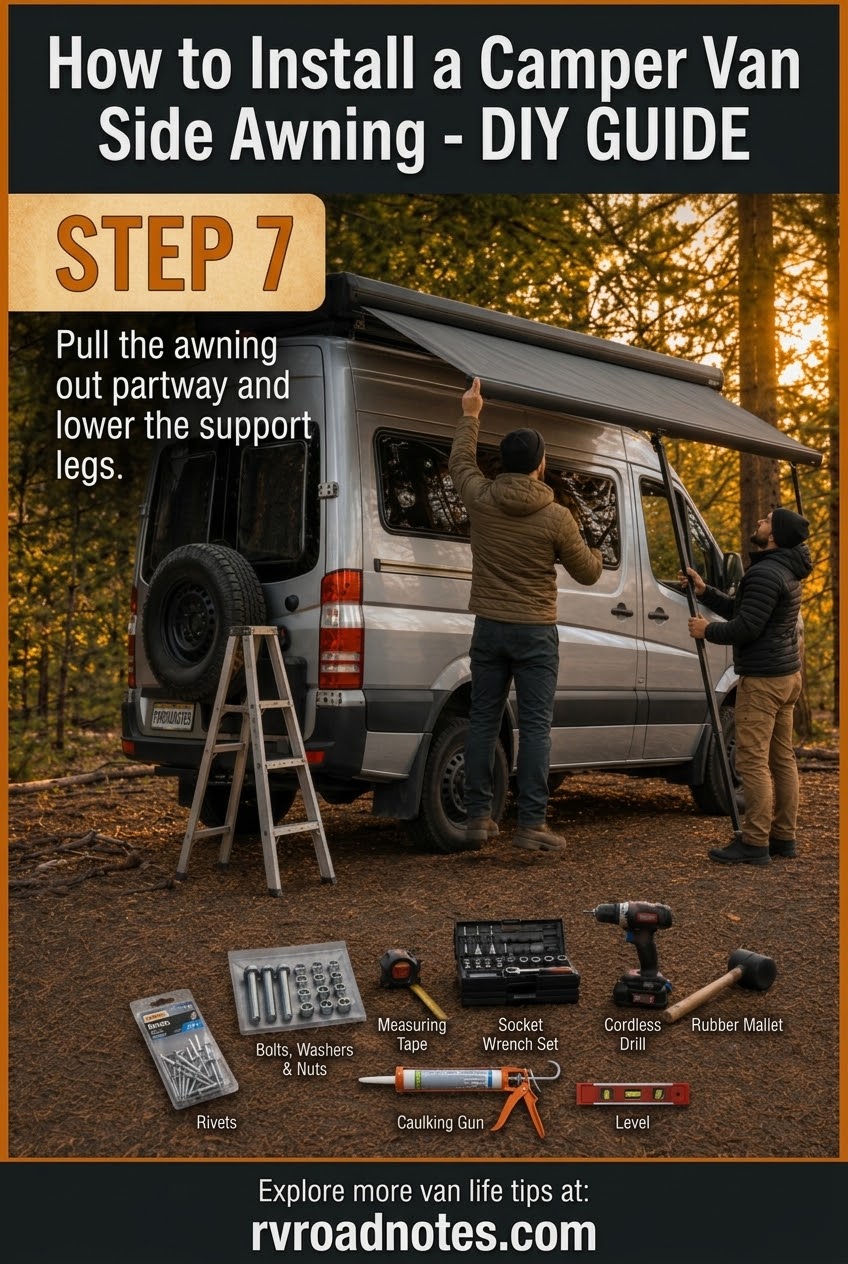
Before anyone climbs anything, I do a full parts count on the ground — a habit left over from thirteen years of scheduling where a missing item found during the procedure is a much worse day than one found before it. For this awning kit, that meant laying out the cassette, two mounting brackets, the bolt-washer-nut assortment, a tape measure, a socket wrench set, a cordless drill, and the step ladder and rubber mallet we'd need for the whole job.
- The cassette itself — heavier and more awkward than it looks, closer to 40-45 lbs depending on the length
- Two brackets — one front, one rear, not interchangeable on most kits
- Hardware — count every bolt against the instruction sheet before you're up a ladder missing one
On a 4x4 camper van conversion where every pound on the roof affects the center of gravity, I also weighed the whole kit before it went up. Worth knowing that number before you add a rack, an awning, and solar all in the same season.
Measuring Twice on a Roofline That Isn't Flat
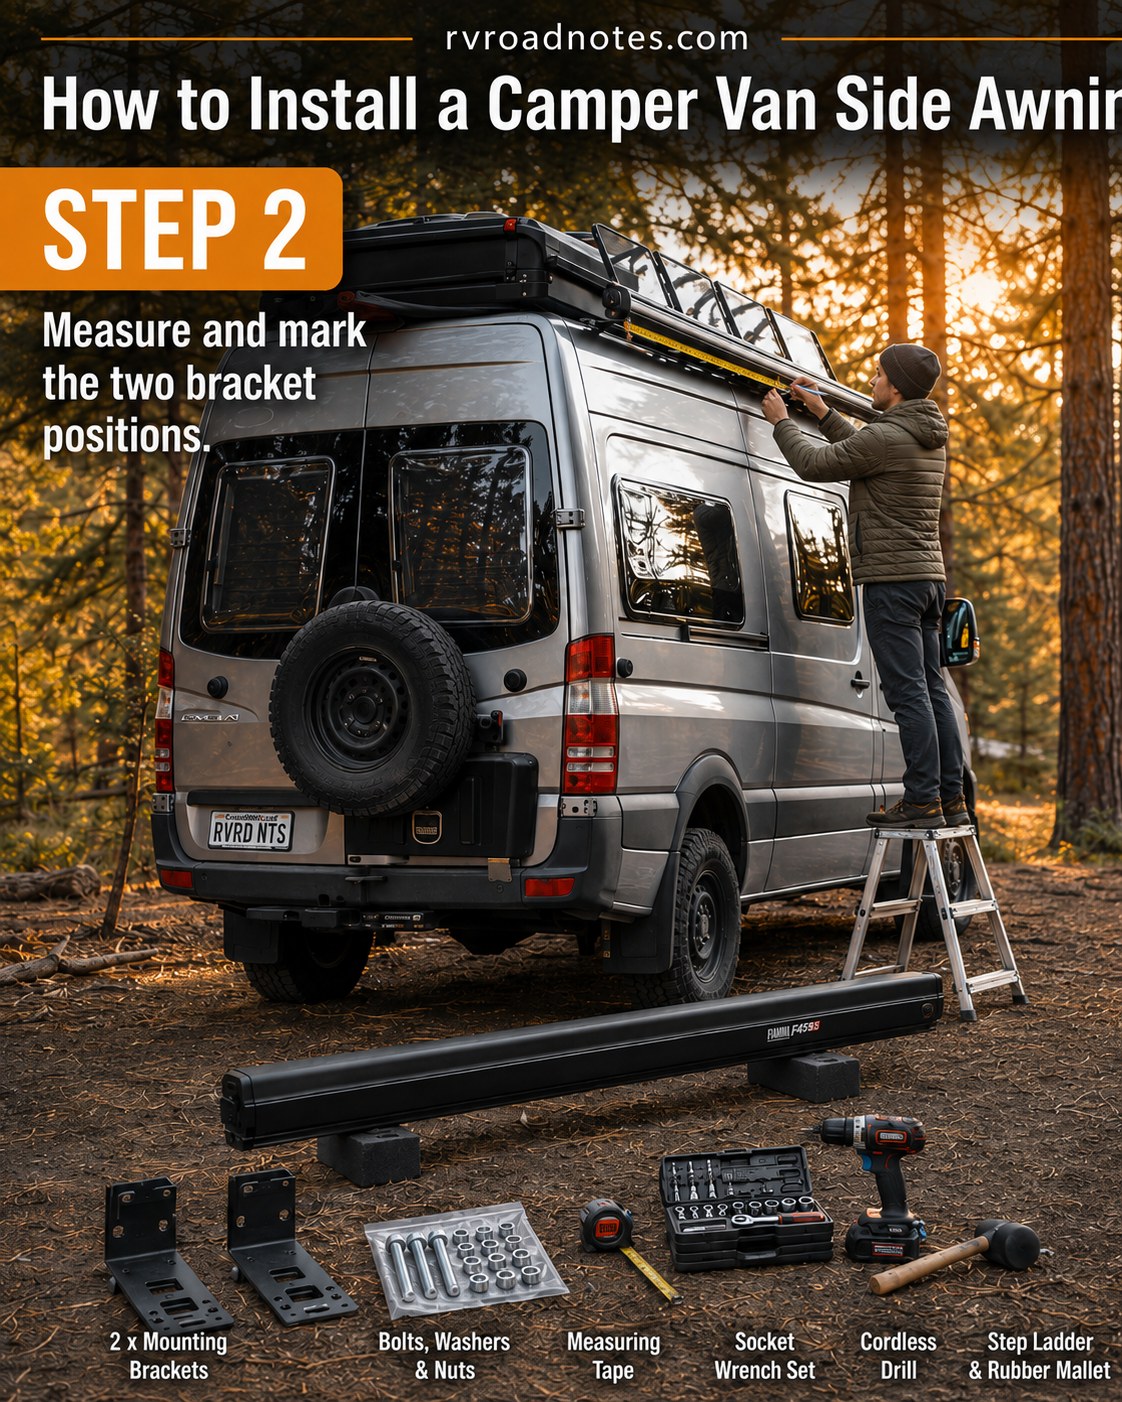
The raised roof on a high-top conversion van is not one flat surface, and bolting into the wrong spot means bolting into an open cavity instead of the internal ribbing that actually holds weight. We ran the tape measure along the body line, marked both bracket positions level to each other, and cross-checked against the cassette's own mounting hole spacing before making a single mark permanent.
What I check before marking
- Level — brackets even side to side, or the awning racks when deployed
- Structure — bolting into a rib or reinforced section, not blind sheet metal
- Clearance — enough room below for the awning arm to swing without hitting the roof rack legs
I've reseal a roof enough times on my own rig to be paranoid about every new penetration in sheet metal, and marking twice here costs five minutes against a leak that costs a weekend later.
Front Bracket, First Bolt
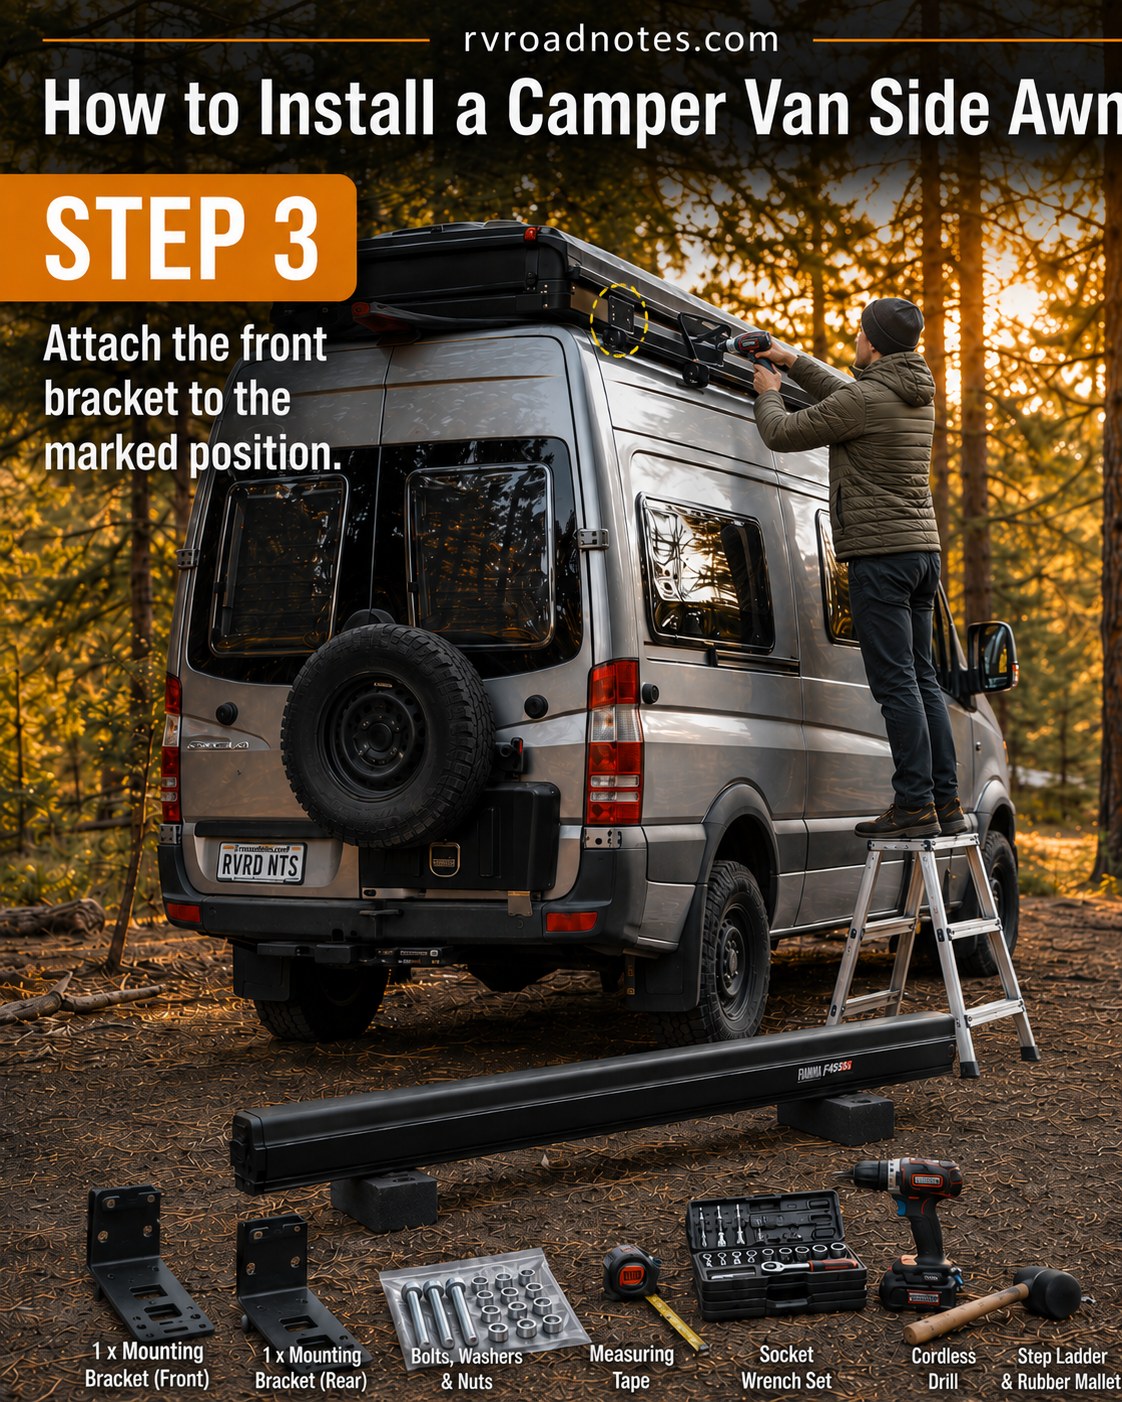
The front bracket went in first, held to the marked position while my friend ran the cordless drill for the pilot holes. We ran a bead of butyl sealant under the bracket footprint before a single bolt went through — every hole in a van roof is a future leak if you skip this step, and I say that from direct experience with my own roof seams.
A bracket that's watertight on install day and a bracket that's watertight three seasons from now are two different jobs — the sealant is the difference.
Bolts were torqued to the kit's stated spec, not guessed at, using the socket wrench set rather than the drill for final tightening. Overdriving a self-tapper into thin roof metal strips the hole, and then you're drilling oversized and hoping a bigger fastener saves you.
Rear Bracket and the Two Mounts Working Together
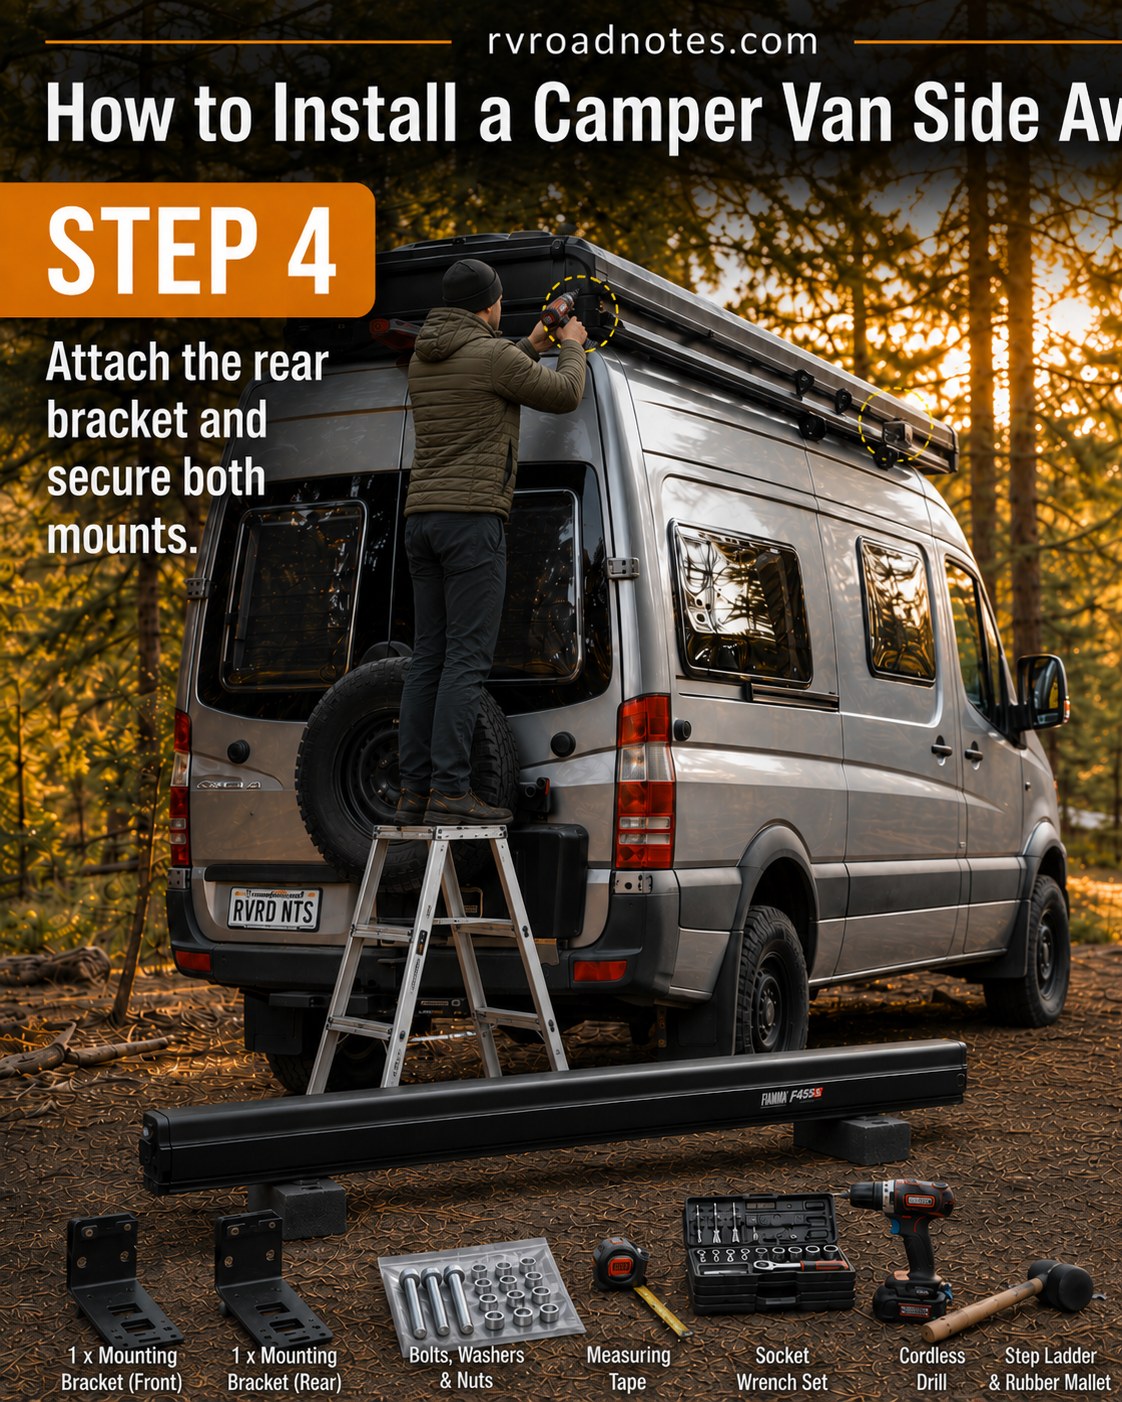
The rear bracket is where alignment either holds or falls apart. We remeasured against the front bracket's exact position before drilling anything, because the cassette needs both mounting points dead level to sit flush and to swing evenly when deployed. My friend worked from the step ladder near the rear doors while I spotted from the ground, checking the ladder feet on uneven dirt every time she shifted her weight.
Ladder safety on a job like this matters more than people think — soft ground, a loaded roof rack overhead, and someone reaching sideways to hold a drill is exactly the setup for a fall. Both brackets sealed and torqued the same way as the front, and then we stepped back to check the line with a level before moving on.
Getting the Cassette Up There Without Dropping It
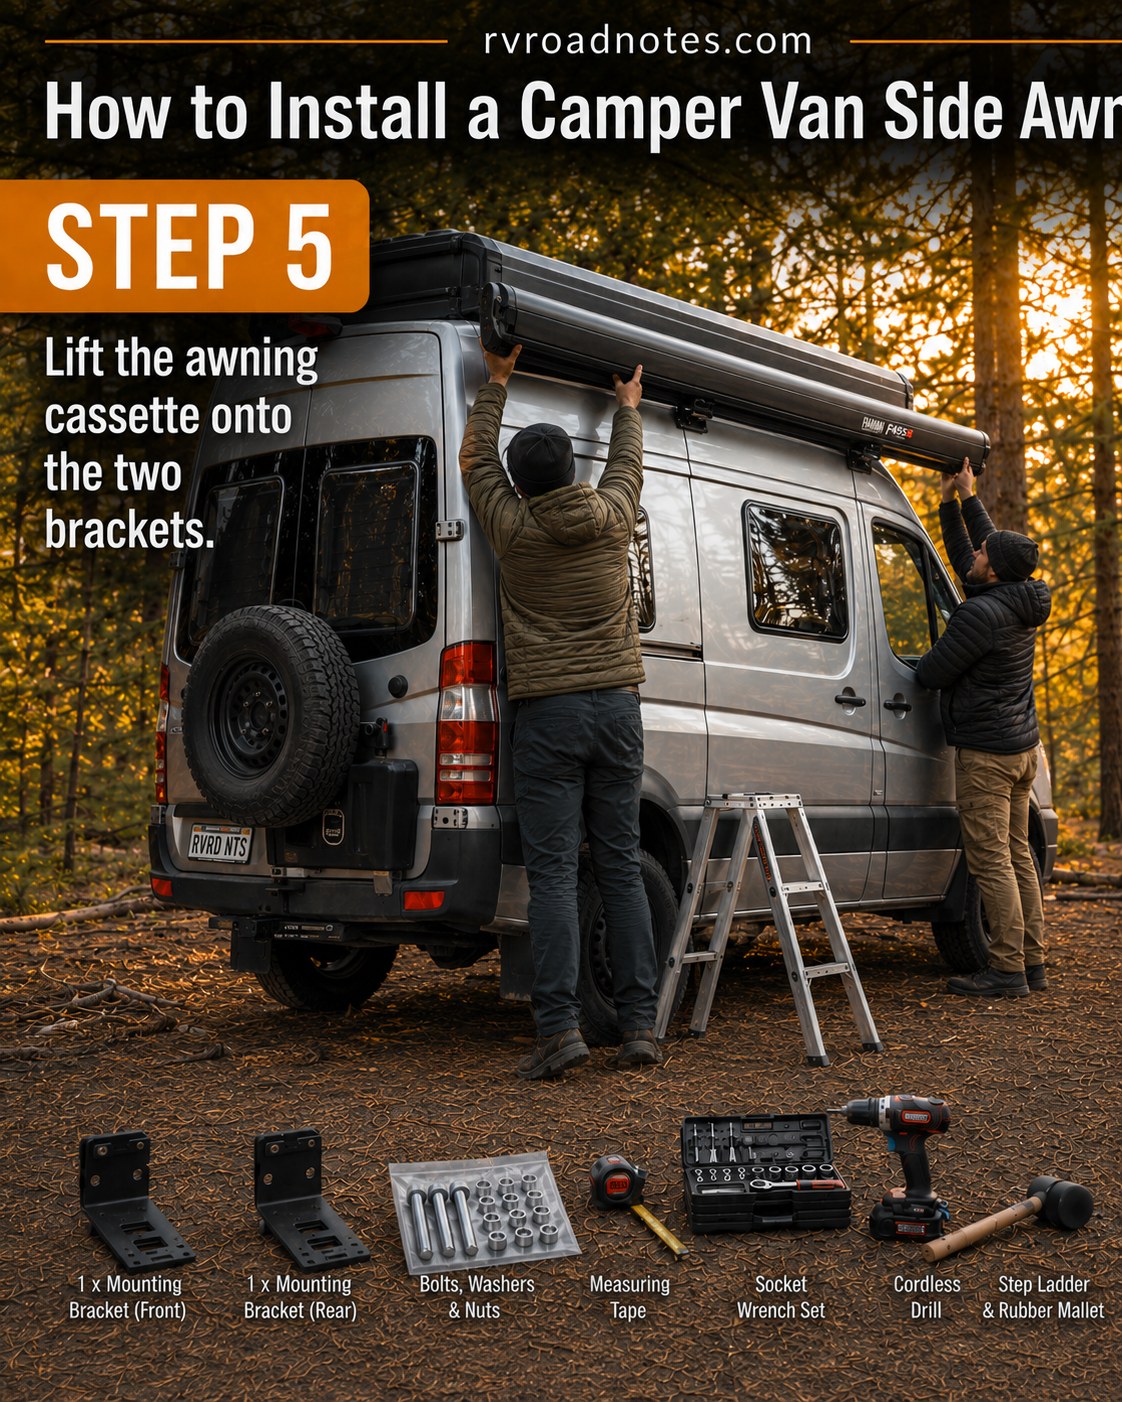
This step is not a one-person job, full stop. The cassette is long, unbalanced, and heavier than it looks on the ground, and lifting it solo onto brackets mounted at head height on a high-roof van is how you either drop it or throw your back out trying not to. We lifted together — one person guiding from the ladder, one supporting weight from below — and walked it onto the brackets slowly rather than trying to set it in one motion.
- Two people, minimum — one guiding the alignment, one bearing the load
- Set it loosely first — resting on the brackets before any bolt goes in, so it can still shift
- Check alignment — front and rear brackets should take the load evenly, not one side carrying most of it
Bolting It Down for Real
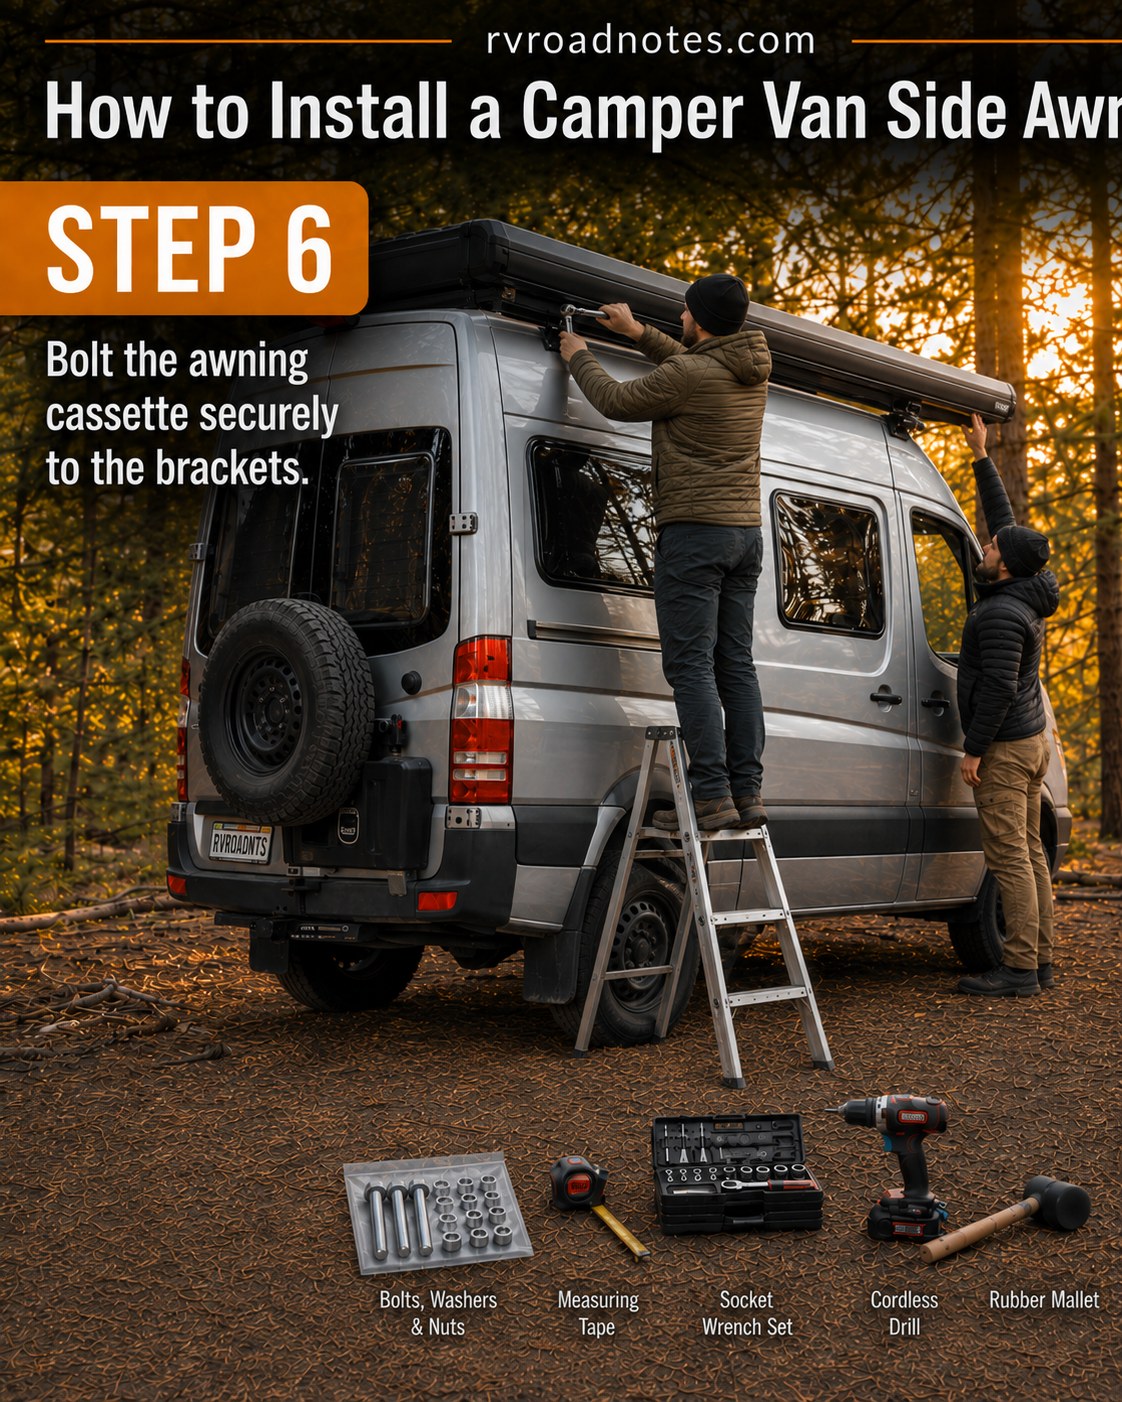
With the cassette resting on both brackets, we started bolts on both sides before fully tightening either — the same logic as seating lug nuts on a wheel, alternating so the load settles evenly instead of cocking to one side. Final torque came from the socket wrench set, checked against the kit spec, and we went back over every bolt a second time once the whole cassette was secured.
I'll re-check these bolts after the first real drive — washboard roads work fasteners loose in ways smooth pavement never does, and a cassette mounted to a 4x4 camper van conversion that's about to see actual dirt roads gets a re-torque within the first few hundred miles, not a season later.
First Deployment and Setting the Support Legs
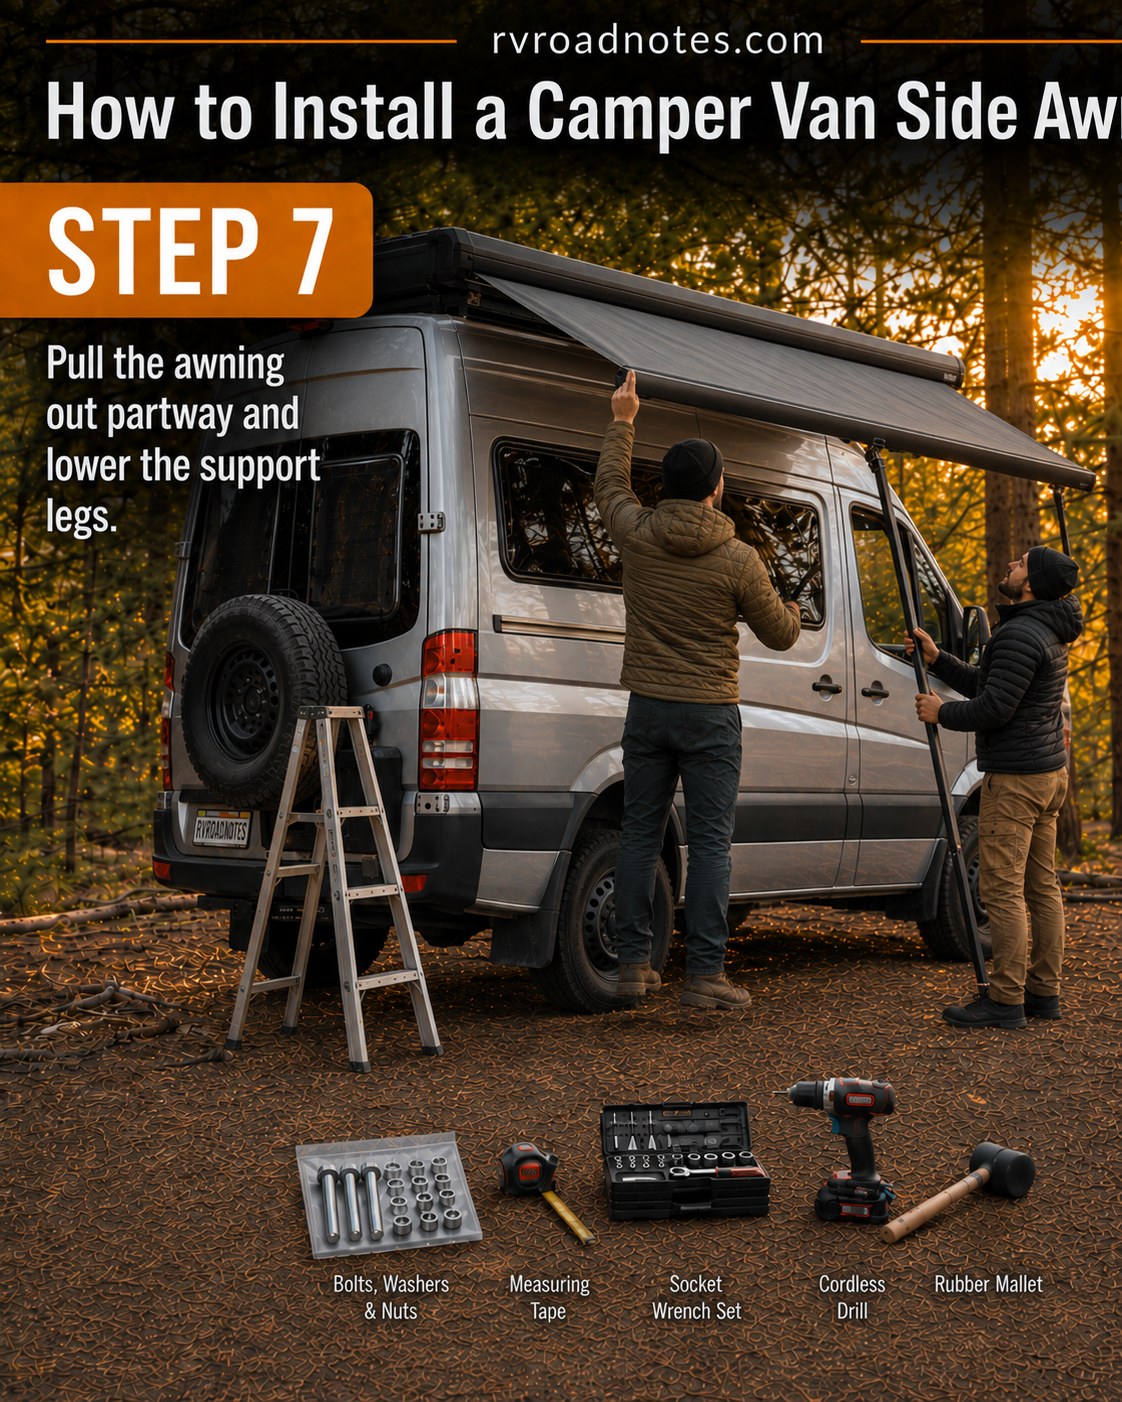
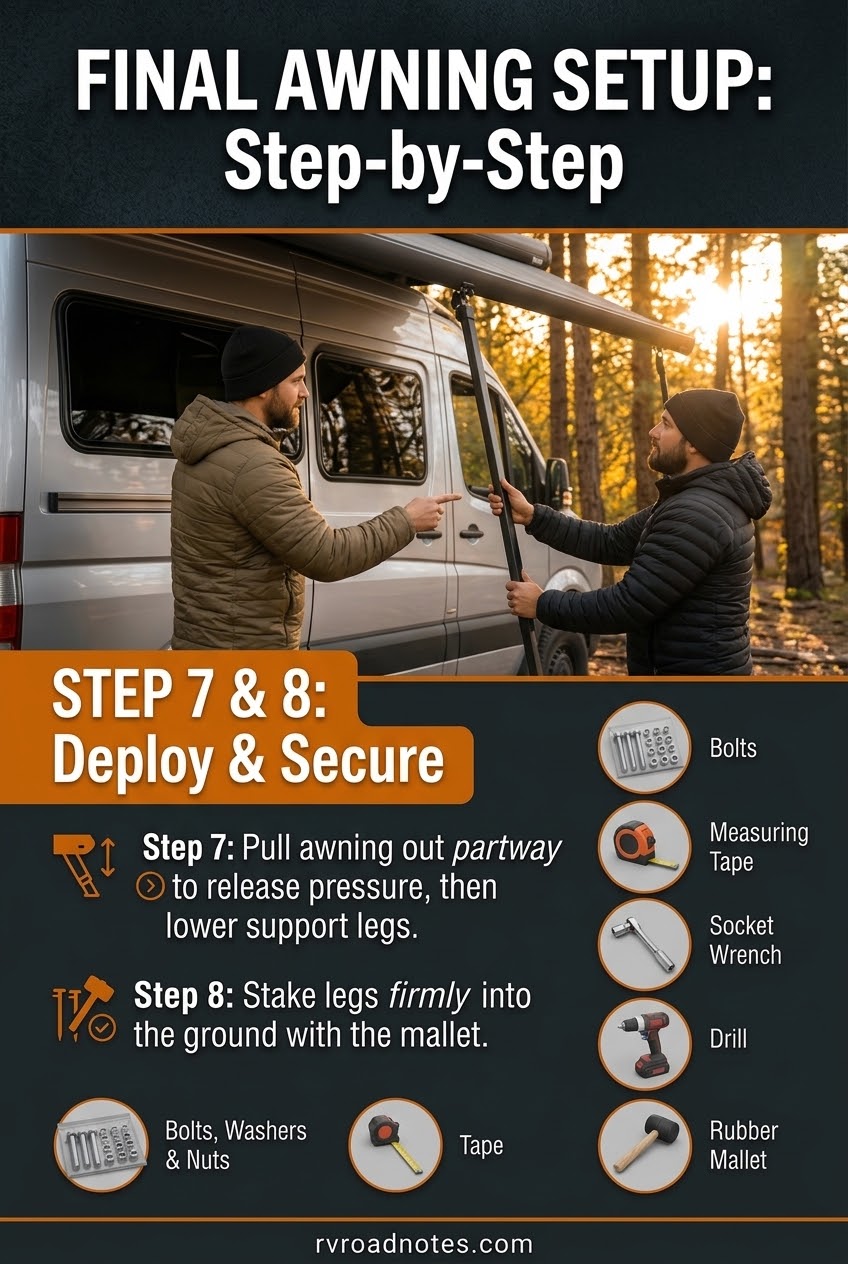
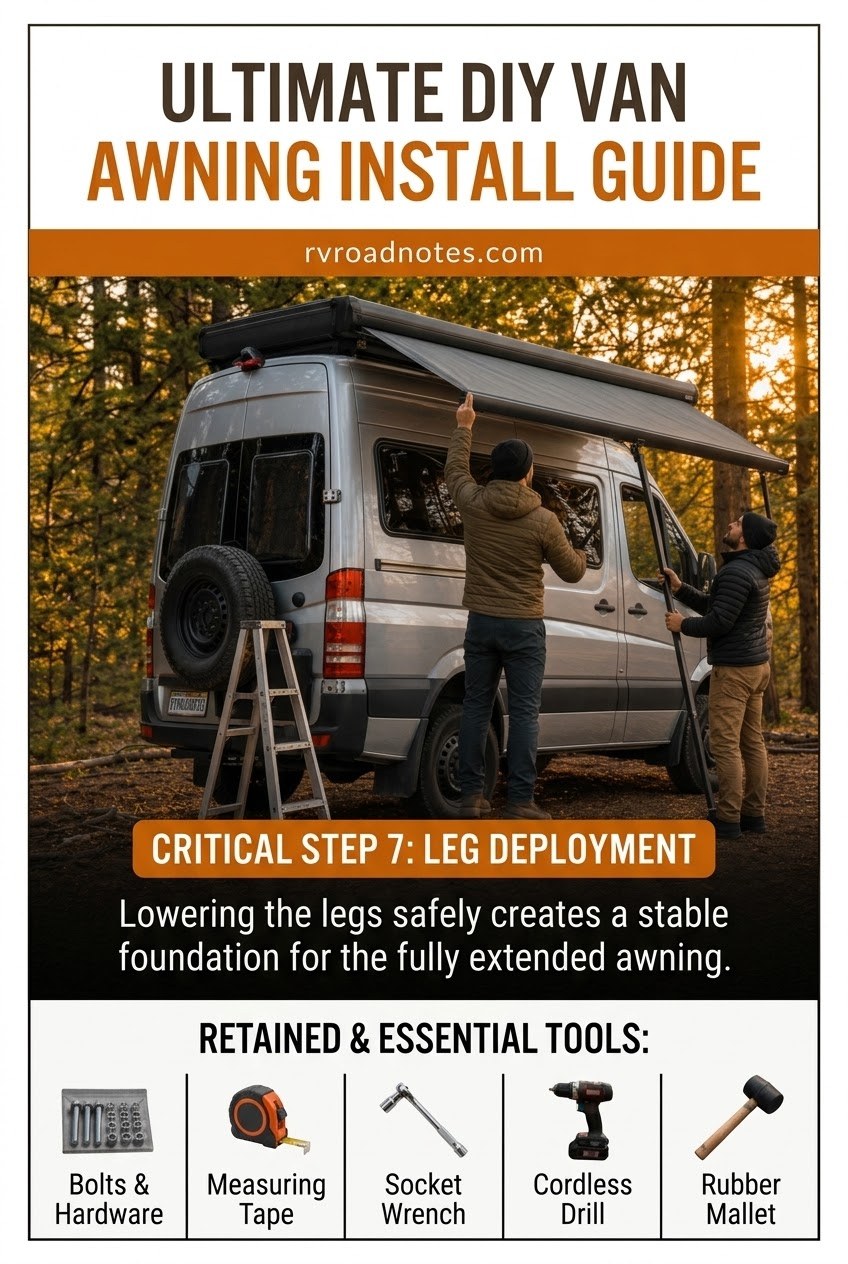
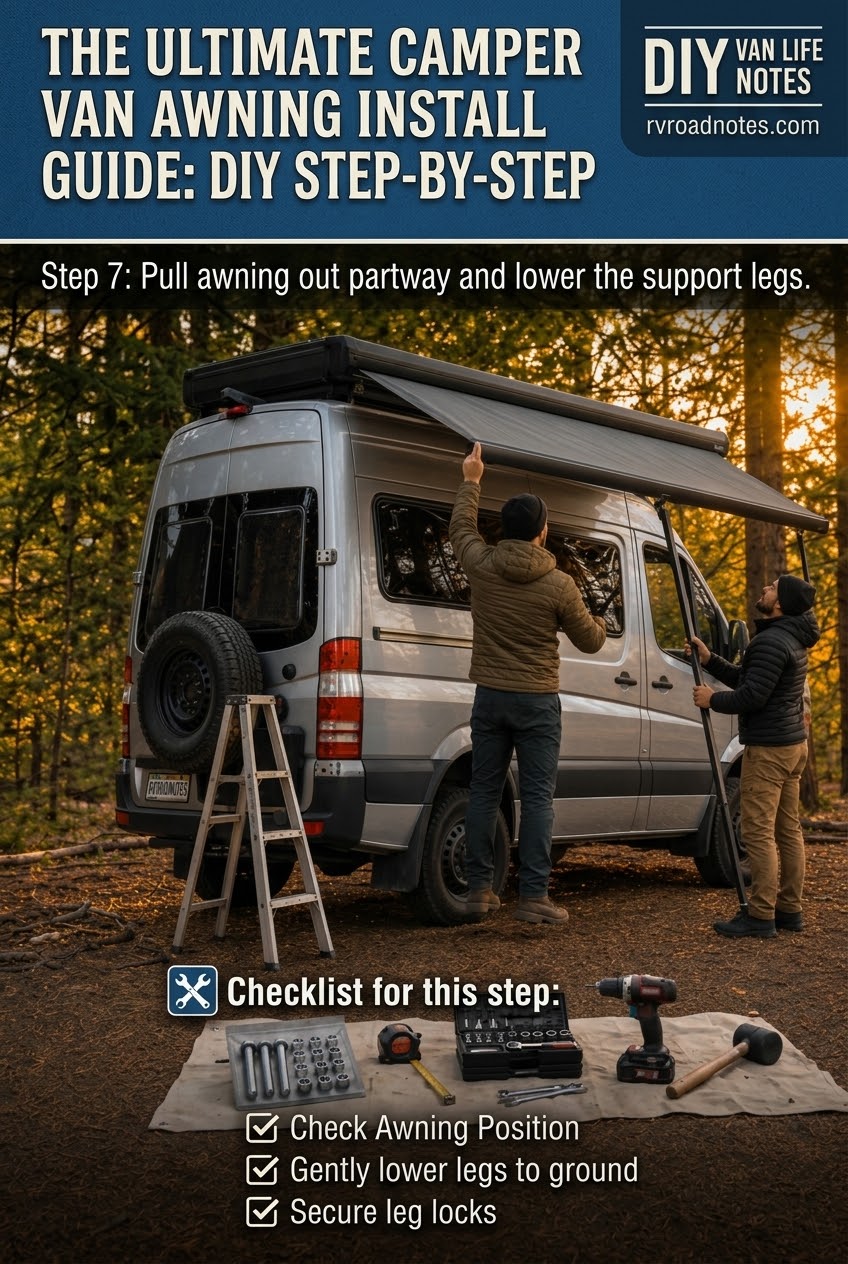
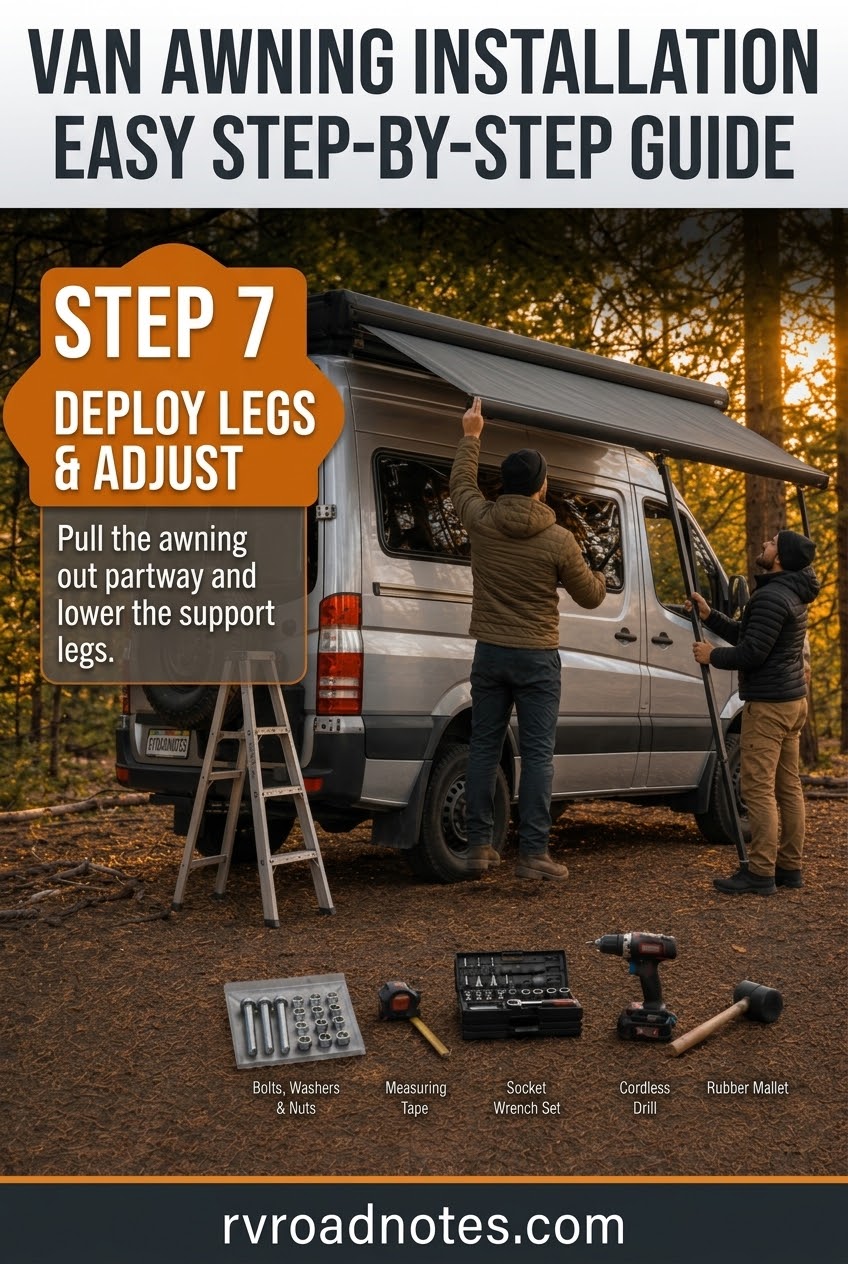
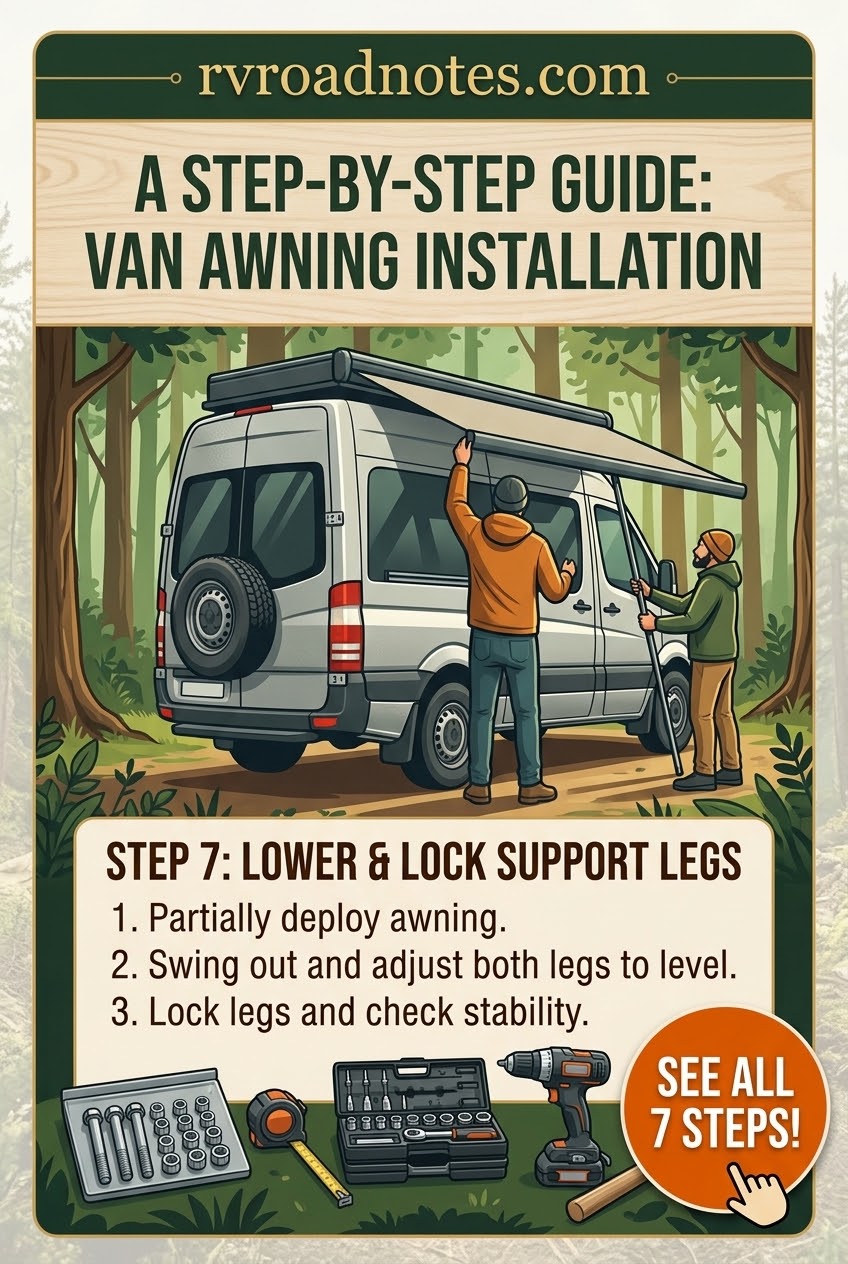
Last step: pull the awning out partway and lower the support legs to check tension and clearance before calling it done. The fabric should sit flat without sagging in the middle, and the legs should plant on level ground without forcing the arm at an angle. We deployed it maybe a third of the way — enough to check the mechanism, not enough to stress a brand-new install in evening wind.
One rule that doesn't change with any awning I've seen: roll it up before wind picks up past what the manufacturer rates it for, and never leave it extended overnight unattended. For boondocking, a working awning is real shade math — the difference between a rig that hits 95°F inside by 2pm and one that stays livable, which matters as much for a dog riding along as for anyone else in the van.
The awning went on in an afternoon, brackets sealed, bolts torqued twice, and by the time we pulled it out partway the light was already going gold through the trees. My own roof is still bare, but I've got a torque spec written down now for when that changes.

- Materials & Tools


Common Questions
Do I need a helper for this install?
Yes, practically speaking. Marking and drilling brackets can be done solo with patience, but lifting the cassette onto the brackets is genuinely a two-person task — it's heavy, awkward, and mounted at height on a high-roof van.
How do I know if my roof can take the bracket bolts?
Look for the internal ribbing or reinforced sections behind the roof skin before drilling, and check the kit's instructions for recommended mounting zones. If you're not confident reading the structure, that's a reasonable job to hand to a mobile installer rather than guess.
Does the extra weight matter on a 4x4 conversion van?
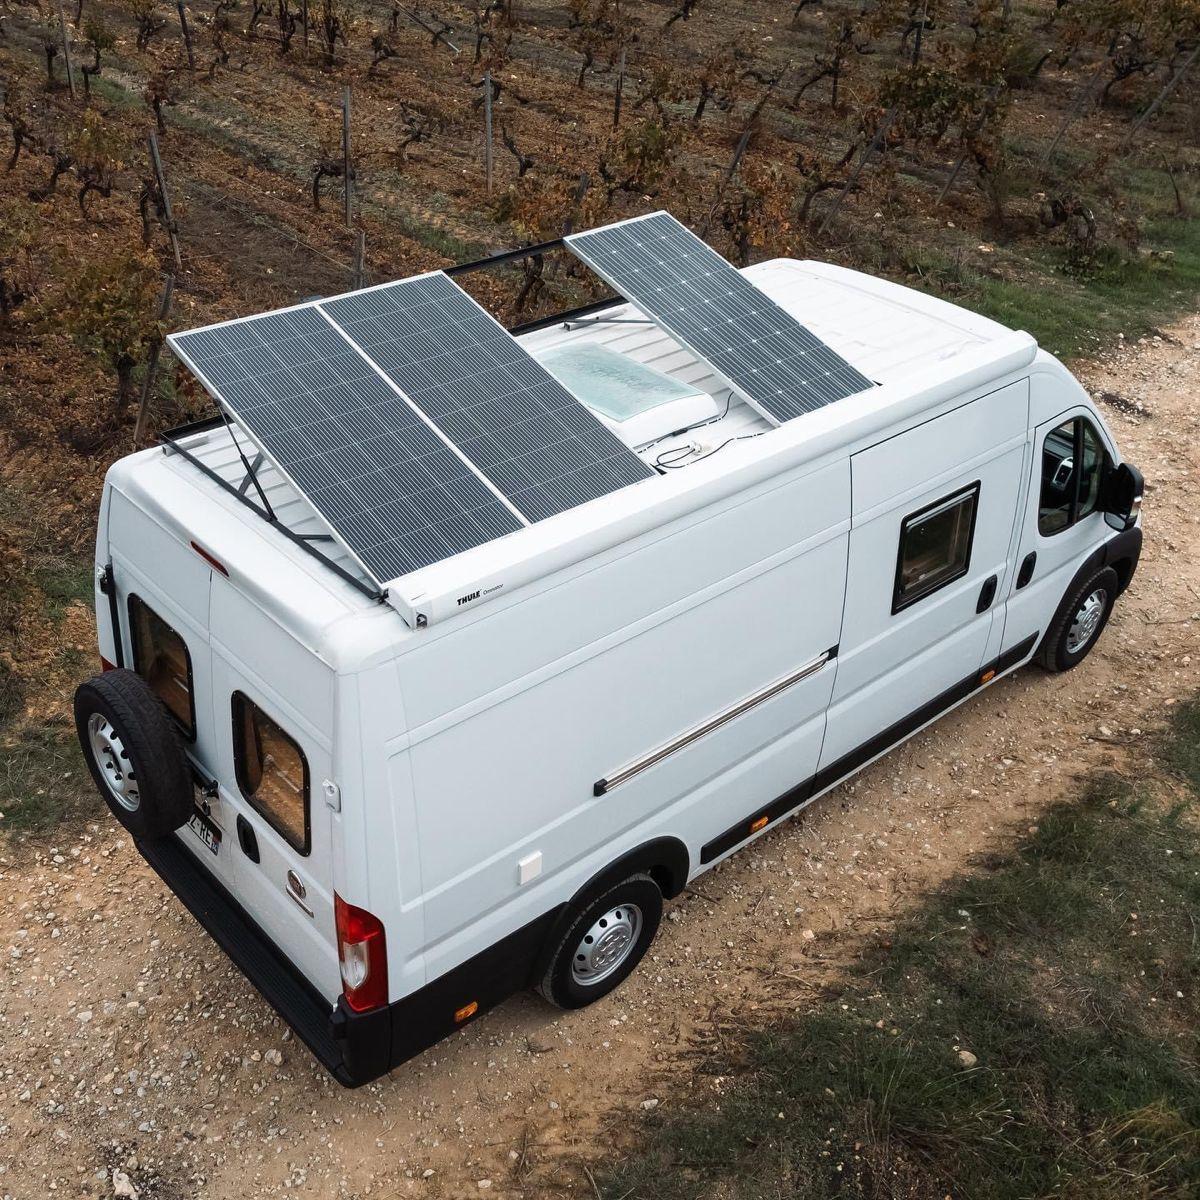
It does. A side awning adds weight up high, which affects handling on rough or off-camber roads more than it would on a lower-profile rig. Weigh the kit, know your payload margin, and factor it in alongside your roof rack and solar.