Six years of cooking on a two-burner propane stovetop with a galley counter about the size of a cutting board has taught me that the best camp dinners use exactly two vessels and nothing else. This is one of them: a cheeseburger-flavored, bacon-loaded skillet pasta that goes from cold ingredients on my dinette to a full bowl in under forty minutes, with only a skillet and a stockpot to wash after. No oven involved, which matters more than you'd think in a rig where the propane oven is really a bread-warming box that also holds a baking sheet if you're desperate.
Setting Up the Galley
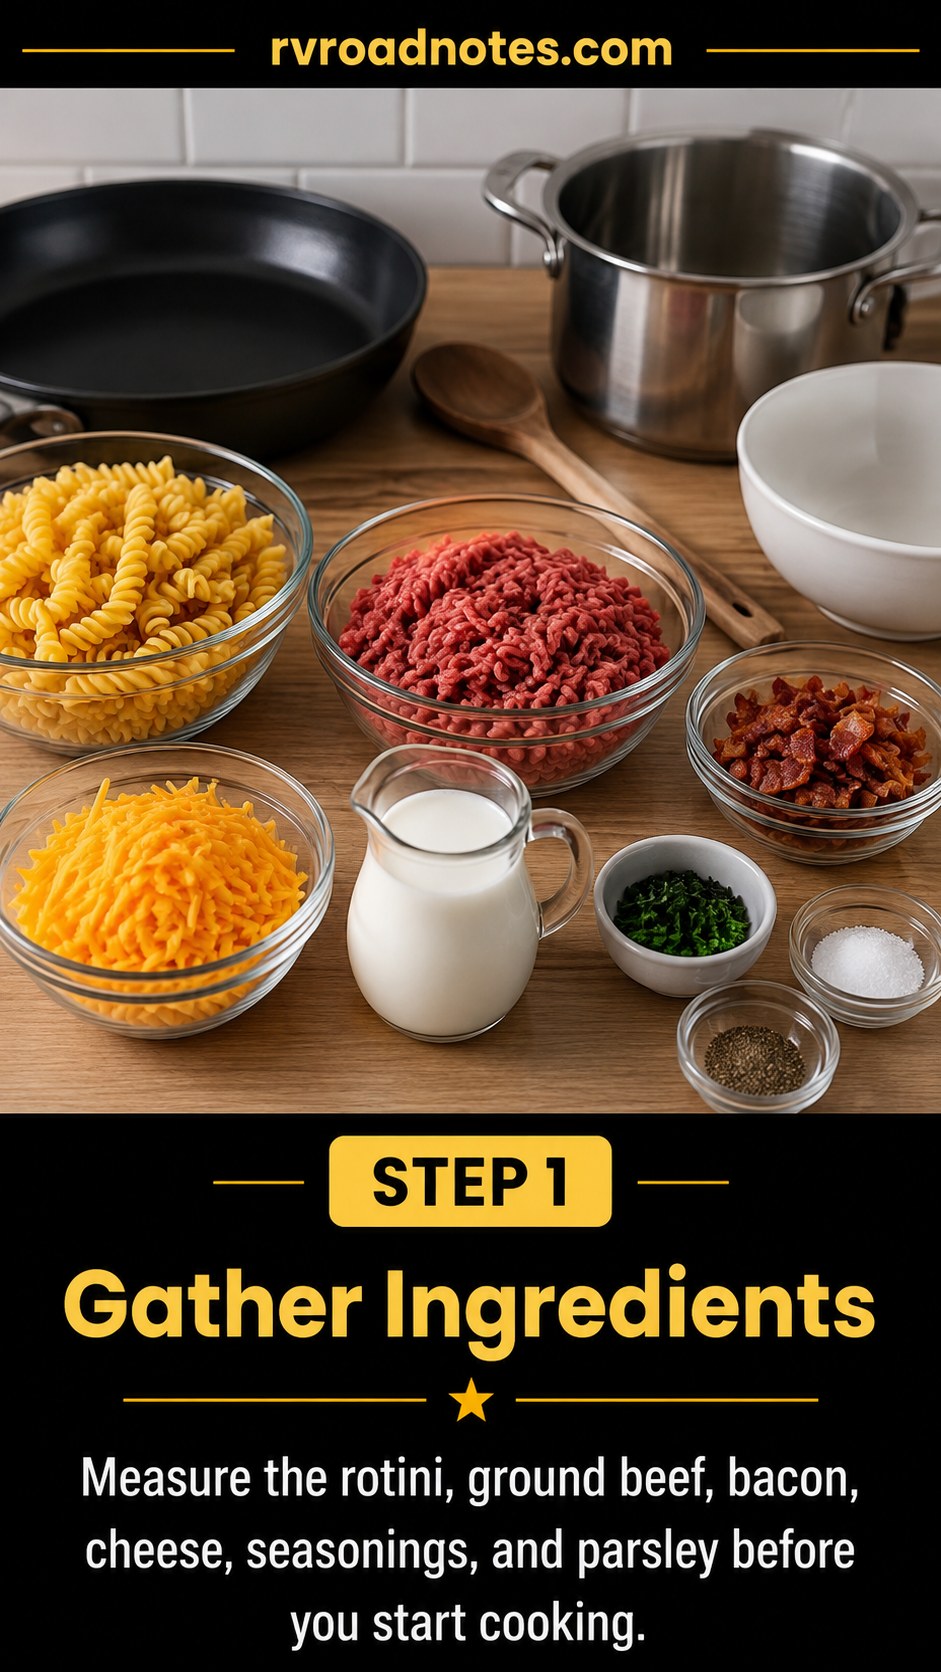
I measure everything before the burner goes on, which is a habit left over from thirteen years of hospital scheduling — if you don't stage the steps, you find out mid-procedure that you're short something. Here that means rotini, ground beef, chopped bacon, shredded cheddar, milk, and chopped green onion all sitting in glass bowls on the counter before the cast iron skillet ever gets hot.
- Two vessels only: a cast iron skillet and a stainless stockpot, which is all the burner space a two-burner propane stove gives you anyway.
- Pre-measured dairy: milk in a pitcher, not the carton, so I'm not opening the fridge twice with the door hanging open and losing cold air.
- Seasoning staged: salt and pepper in small bowls, because fumbling for a shaker while beef browns is how you burn things.
In a rig kitchen, prep isn't optional — it's the only way a small counter functions at all.
Rendering the Bacon First

The bacon goes in cold, chopped, into a dry cast iron skillet over medium heat. I let it render slowly rather than cranking the burner, because propane stoves run hot and uneven right at the edges — cast iron evens that out but only if you give it time. Five to six minutes gets you the color you see here: dark, crisp, with real fat pooled in the pan.
The bacon fat you leave behind isn't a leftover. It's the seasoning for everything that goes into that skillet next.
Pull the bacon out with a slotted spoon and set it aside — don't drain the pan. That thin, glossy layer of fat left behind is what browns the beef properly instead of letting it steam. If your bacon is cooking unevenly, your skillet probably isn't fully preheated before the bacon goes in; give it another minute next time before adding anything.
Browning the Beef in Bacon Fat
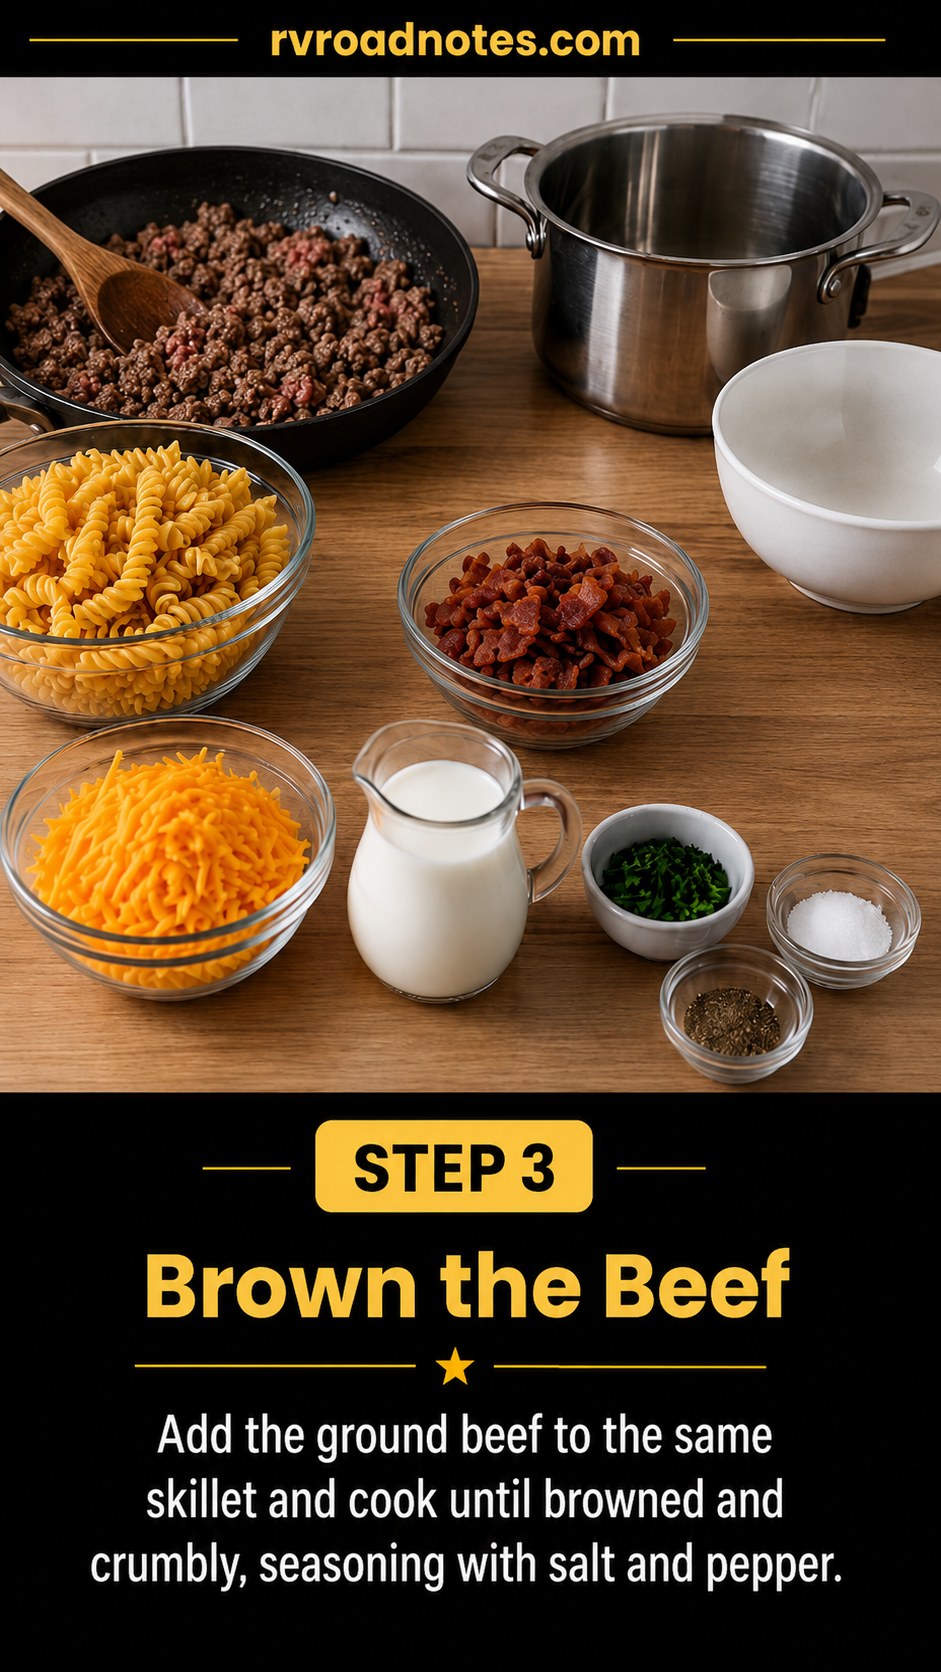
Same skillet, same fat, ground beef straight in. I break it up with the wooden spoon as it goes, seasoning with salt and pepper as soon as it hits the pan rather than at the end — the seasoning needs the full seven to eight minutes to actually work into the meat instead of sitting on the surface.
You're looking for what's in the photo: browned, crumbly, no pink, with a little of that bacon fat still glistening at the edges of the pan. If your beef is releasing a lot of liquid and steaming instead of browning, your burner is probably set too low, which happens more often than you'd expect on an older propane range where the flame doesn't always match the dial. Push the heat up a notch and give it room to actually sear.
I don't drain this. On 65,000 miles of camp cooking I've learned that the fat left in the pan is doing the flavor work for the next three steps — draining it just means dumping flavor down a sink I'm trying to conserve water in anyway.
Boiling the Rotini
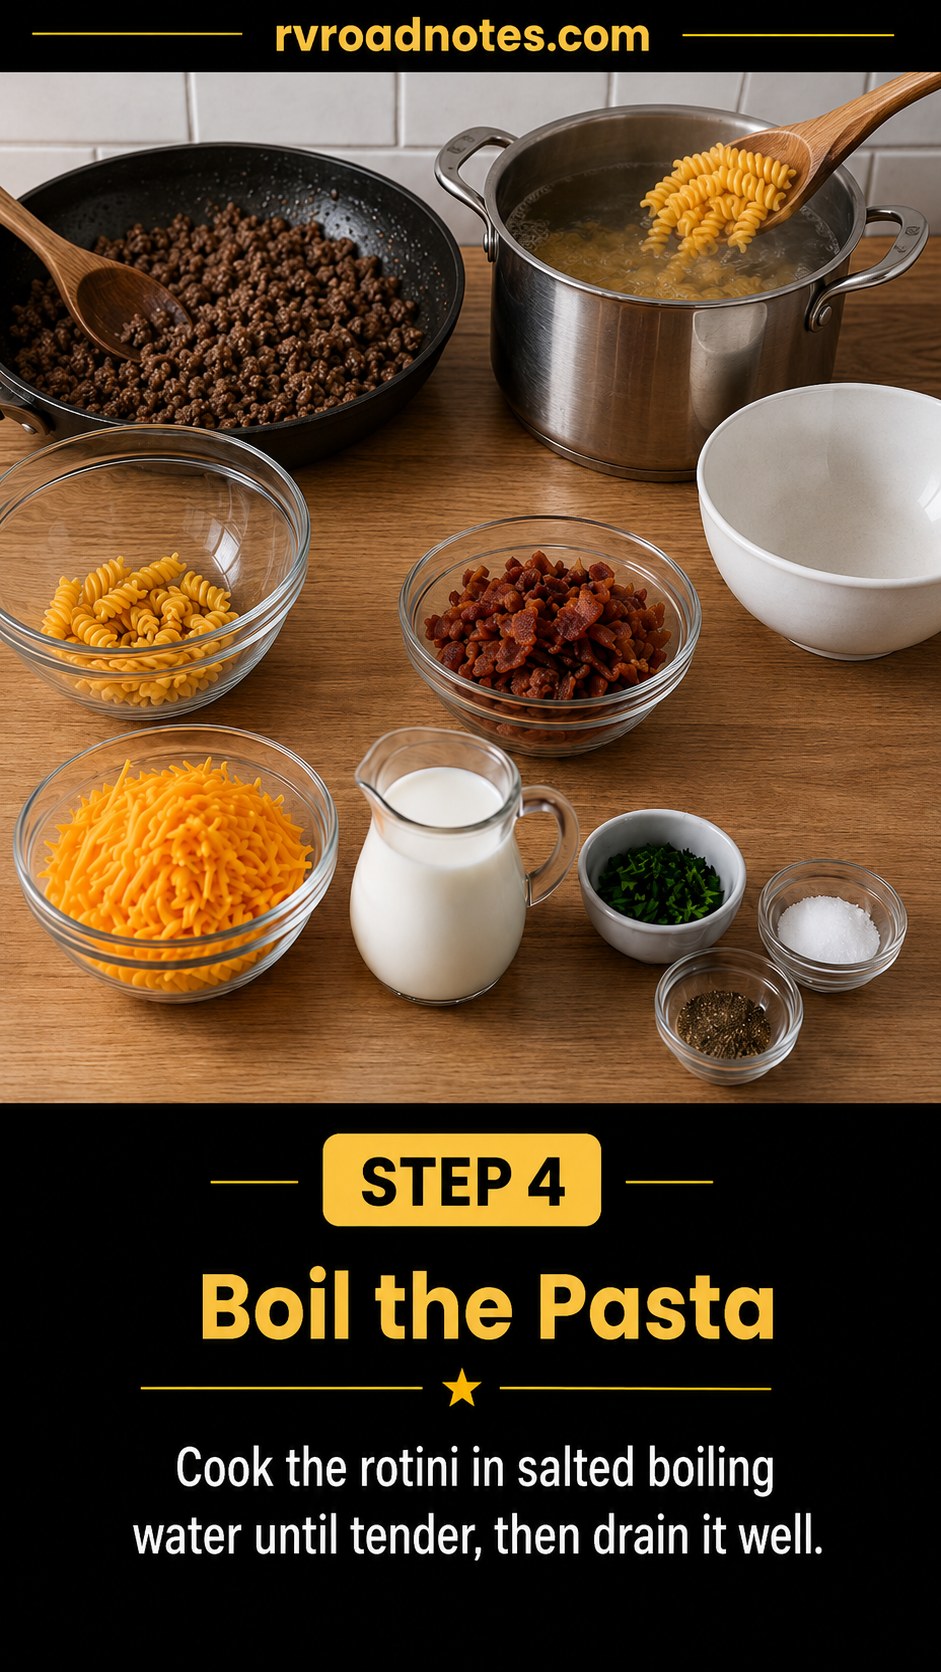
While the beef finishes, the stockpot goes on the second burner — salted water at a full boil, rotini in, stirred once so it doesn't clump against the bottom. Nine to ten minutes gets you tender pasta with a little bite left, which matters because it's about to sit in a hot skillet and keep cooking a bit more.
A boondocking note on this step
Boiling pasta is one of the thirstier things I do in the rig — a full stockpot of water for a pasta dish is real gallons off my tank total for the day, and it's not water I'm getting back; it goes down the drain as gray water once it's drained off. On a longer dry-camp stretch I sometimes cut the water volume closer to just covering the pasta and stir more often so it doesn't scorch, which saves a couple of quarts without ruining the noodles.
Drain well — a colander shake or two extra, because water riding along into the skillet thins out the cheese sauce two steps from now.
Bringing Pasta and Beef Together
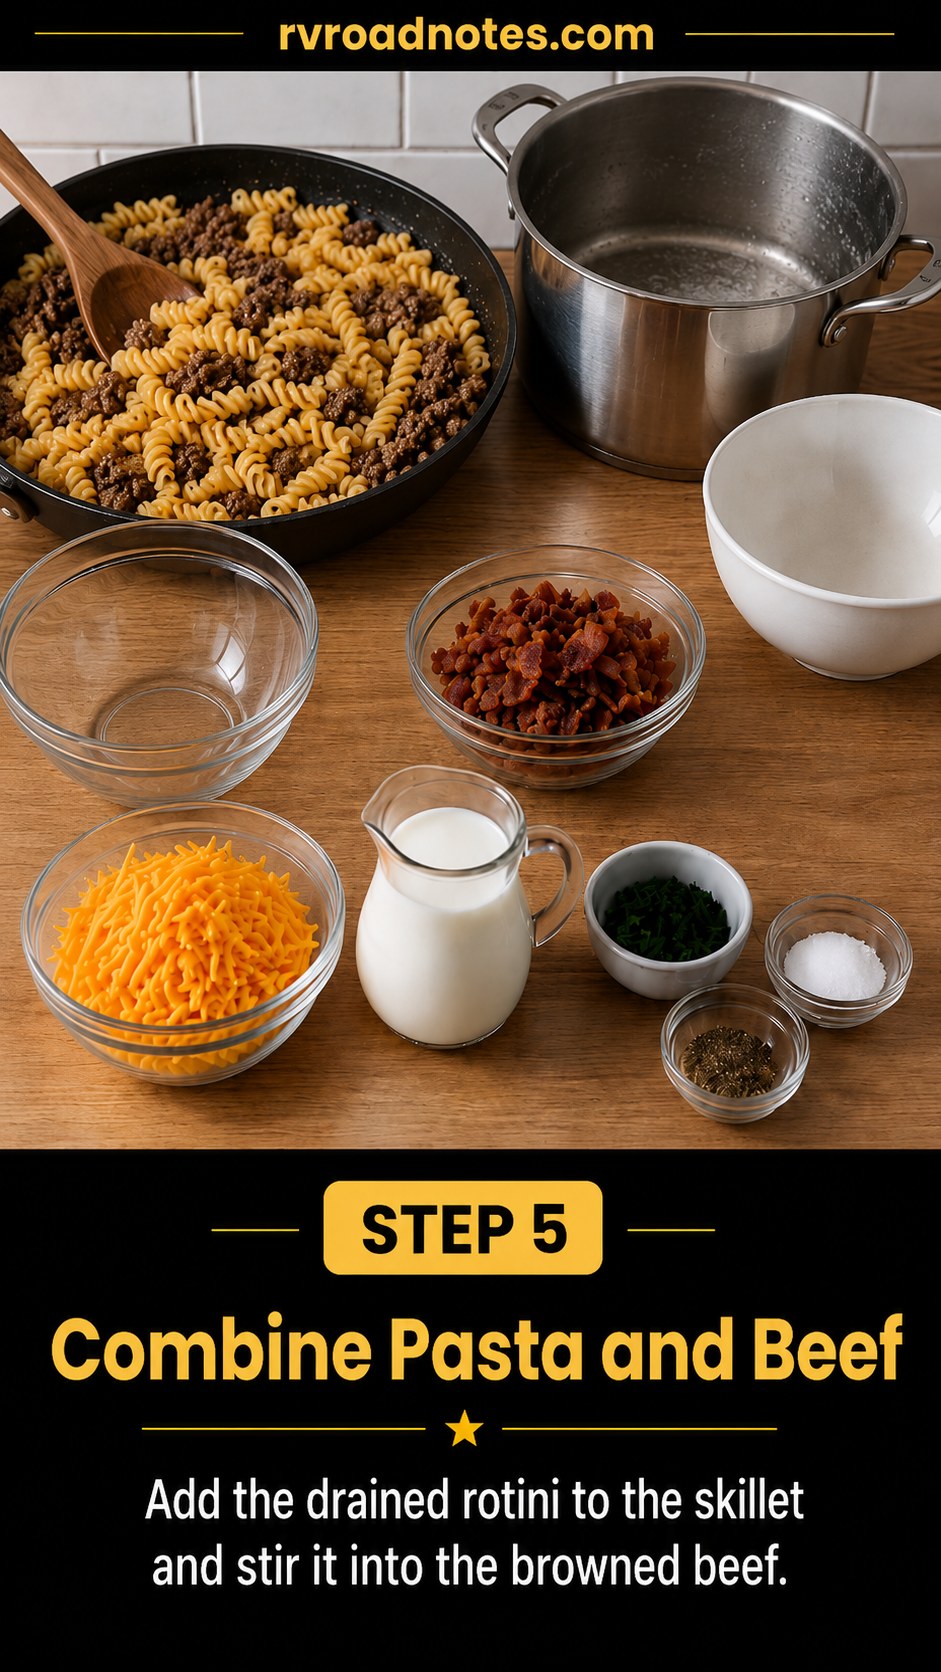
The drained rotini goes straight into the skillet with the browned beef, still hot, and I fold it through with the wooden spoon until every piece of pasta has picked up some of that beef-and-bacon-fat color. This is the step where the dish stops being two separate components and starts being one skillet meal — which is exactly the point of cooking this way in a rig with one real cooking surface.
- Work quickly: the pasta cools fast once it's out of the boiling water, and a warm pan helps everything bind in the next step.
- Scrape the bottom: any browned bits stuck to the cast iron are flavor, not mess — get them up and mixed through.
If the skillet looks a little dry at this point, that's fine. The cheese and milk are about to fix that.
Turning It Into a Sauce
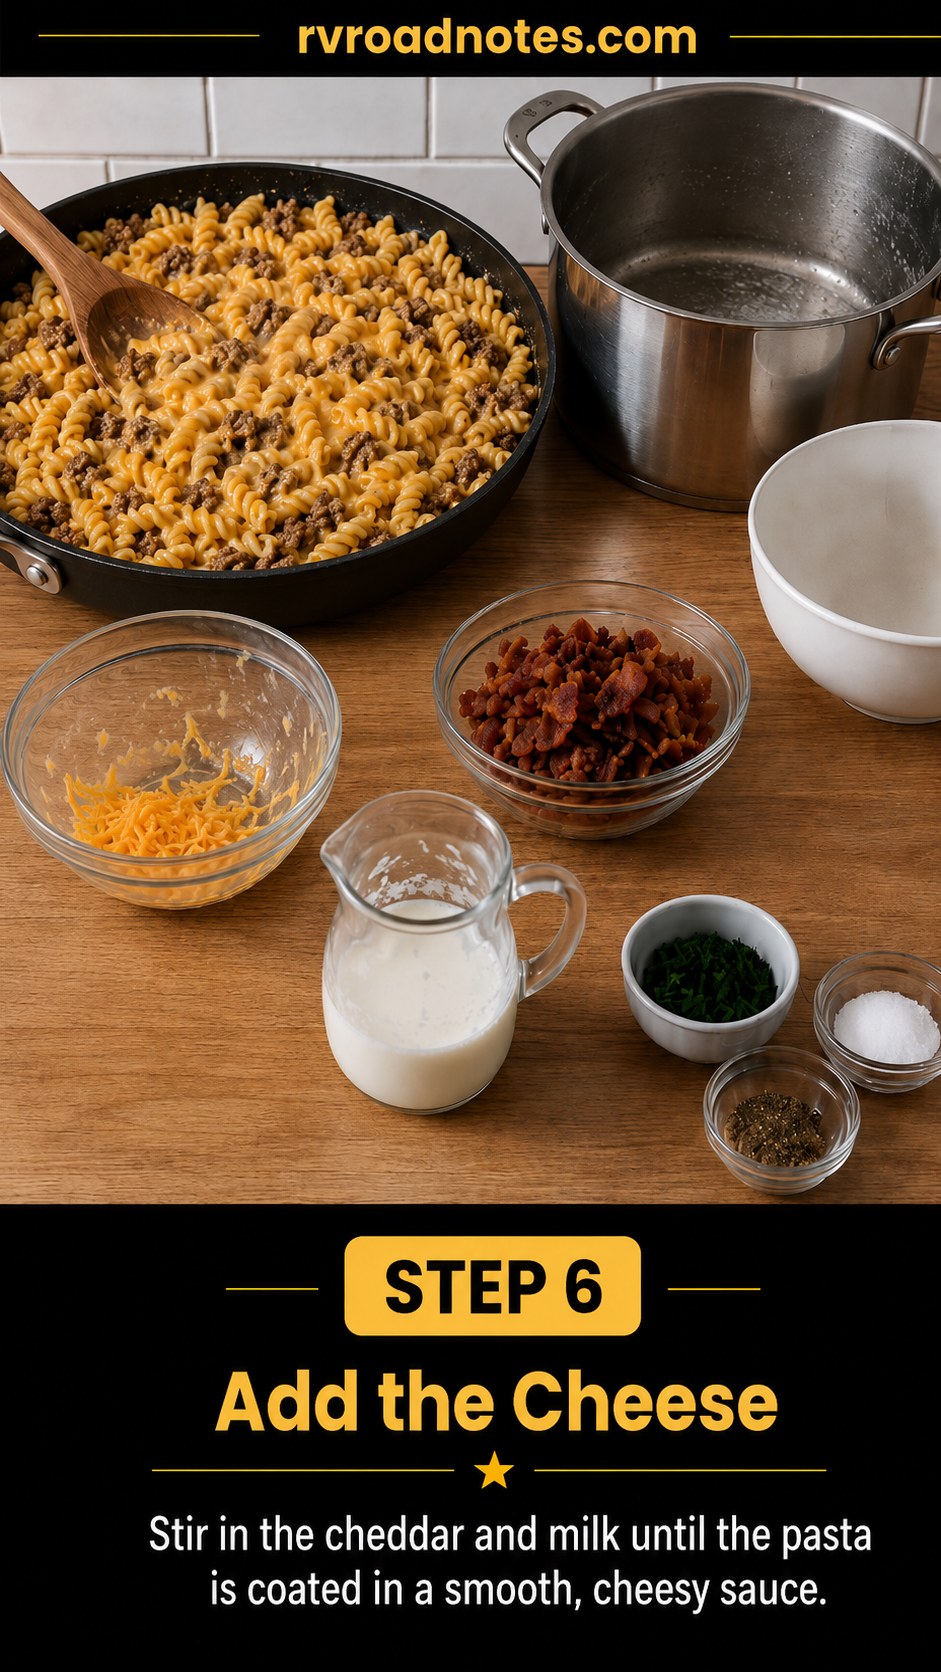
Cheddar and milk go in together, off the highest heat — I drop the burner down before adding dairy, because cheese seizes and turns grainy fast on a propane flame that's still running hot from browning meat. Stir constantly and it comes together in two to three minutes into what you see in the photo: a smooth, glossy, cheese-coated pasta with no separated fat and no clumping.
If the sauce looks broken or oily instead of smooth, your heat was too high when the cheese went in. Pull the skillet off the burner entirely for thirty seconds, stir hard, and it usually comes back together. A splash more milk helps too, since cheddar tightens up faster than you'd expect once it's off heat.
This is the whole dish in one pan now — no baking step, no oven, nothing left to do but plate it.
Plating and Garnish
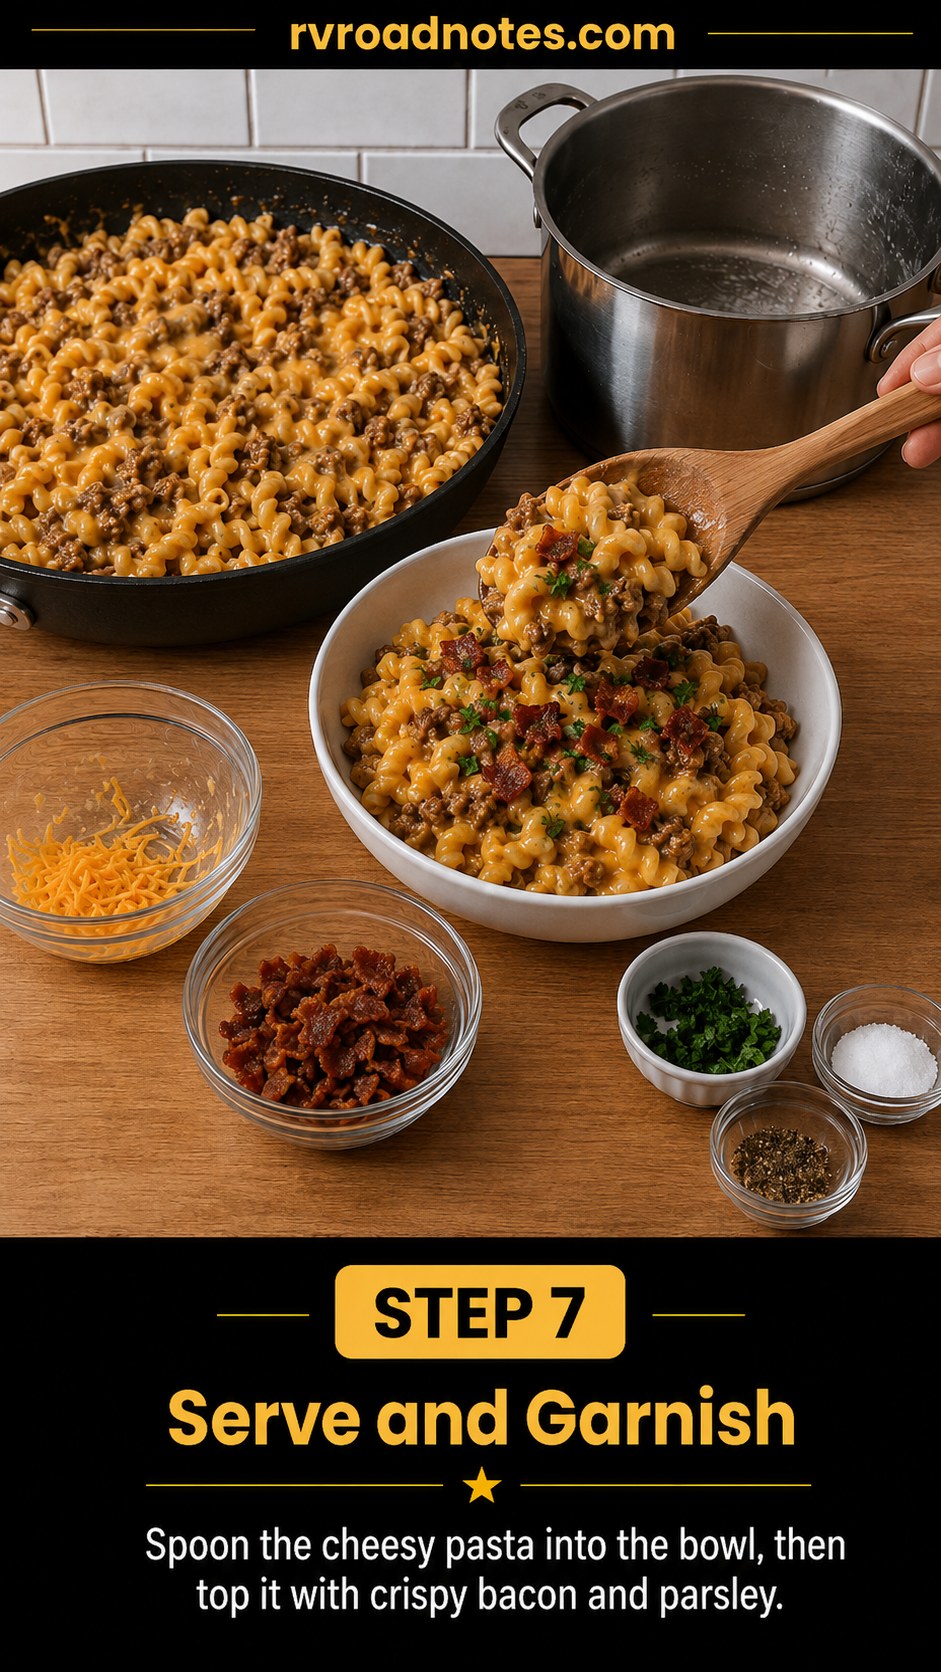
I spoon it into a bowl rather than serving straight from the skillet — cast iron holds heat long after the burner's off, and a full skillet sitting on a small dinette table for twenty minutes keeps cooking the bottom layer past where I want it. Into the bowl it goes, then the crisp bacon I set aside three steps ago goes back on top along with chopped parsley for color and a little green bite against all that cheese.
The bacon on top instead of stirred in matters — it stays crisp instead of going soft in the sauce, which is the textural difference between this dish and a plain cheesy pasta.
The Bowl That Actually Gets Finished
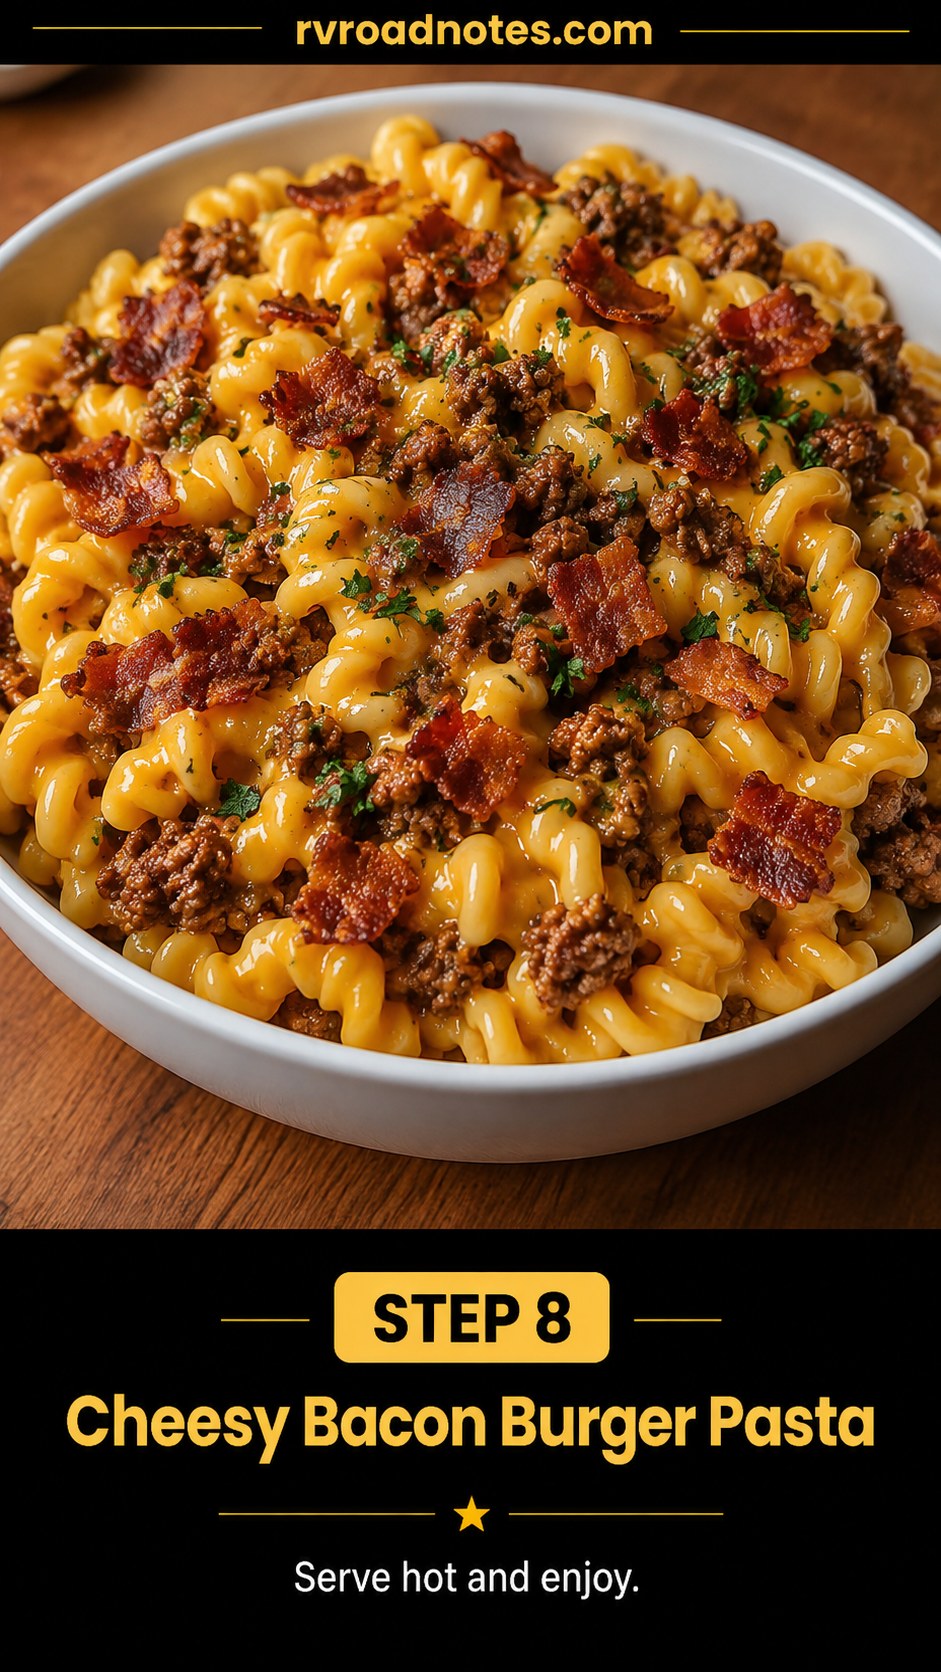
Served hot, this is the bowl in the last photo — rotini coated in cheddar, browned beef throughout, bacon and parsley on top, steam still coming off it. It's the dinner I make on the nights I don't want to think hard about cooking but still want something that isn't a sandwich, and it reheats fine the next day in the same skillet with a splash of milk to loosen the sauce back up.
Rooster sits directly under the dinette table for this one every time, which tells you everything about how the bacon smell travels in a twenty-four-foot rig with the windows cracked.
This is one of maybe five dinners in regular rotation on the rig, and the reason is boring but real: two pans, one burner used twice, no oven, and leftovers that reheat without turning gluey. That's most of what I ask of a camp dinner these days.

- For the pasta and burger

Frequently Asked Questions
Can I make this without boiling a separate pot of pasta?
You need the stockpot for this method as photographed — the rotini cooks in salted water separately, then gets drained and folded into the skillet. If your rig only has one usable burner, you can boil the pasta first, set it aside, then use the same burner for bacon and beef in the skillet afterward.
How do I cut water use on this recipe while boondocking?
Use just enough water to cover the pasta rather than a full stockpot, and stir more frequently so it doesn't stick or scorch. It shaves a few quarts off your tank without changing the finished texture much.
Why did my cheese sauce turn grainy instead of smooth?
The pan was too hot when the cheese and milk went in. Pull the skillet off the burner, stir hard for thirty seconds, and add a splash more milk — it usually pulls back together.